14 Creative DIY Wedding Ideas That Look High-End and Expensive
14 Creative DIY Wedding Ideas That Look High-End and Expensive
Planning a wedding can be overwhelming, especially when it comes to creating a unique and memorable atmosphere. With so many ideas and options available, it’s easy to get lost in the process.
If you’re looking for ways to add a personal touch to your special day without breaking the bank, DIY wedding ideas are the way to go. From elegant decor to thoughtful favors, these 28 creative DIY projects will help you create a high-end and expensive look without the hefty price tag.
Whether you’re a crafty bride or a DIY newbie, these ideas are perfect for anyone looking to add a touch of personality to their wedding.
1. Hand-Painted Acrylic Welcome Signs
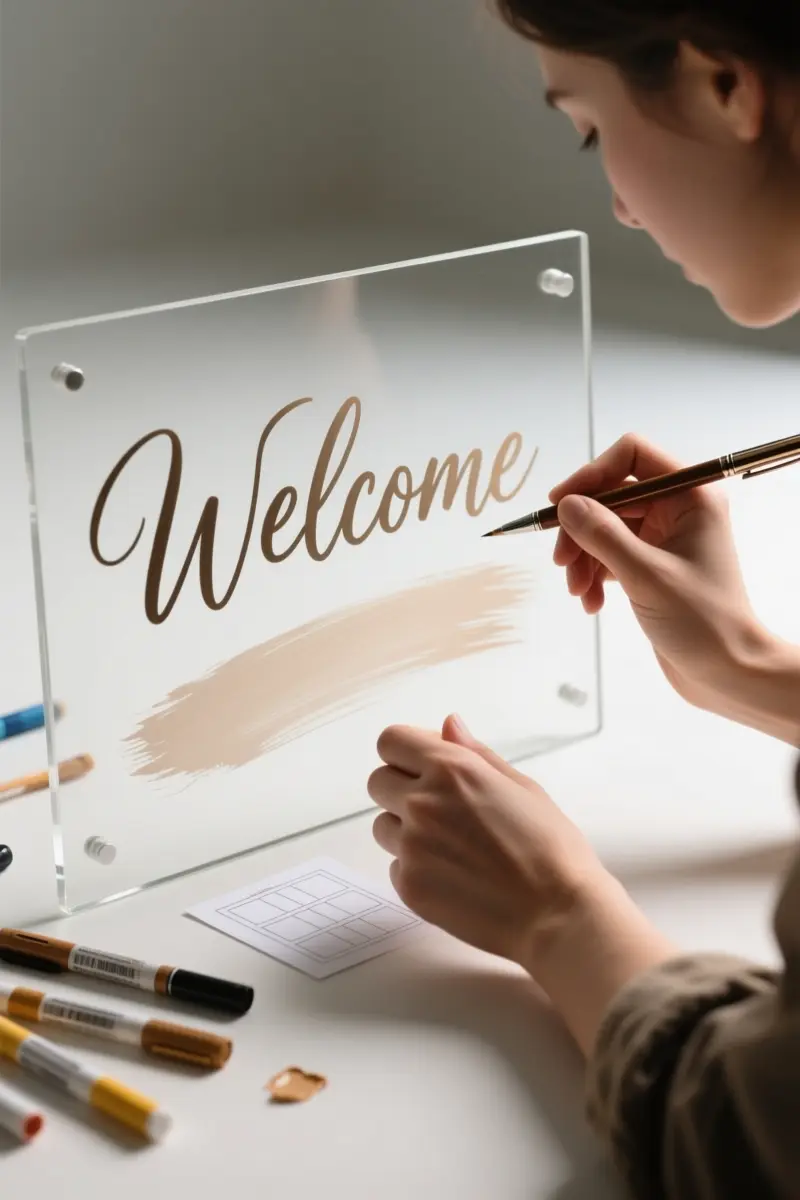
To create a sleek, modern welcome sign, start by selecting a plexiglass sheet in the desired size.
Choose a high-quality paint pen that’s specifically designed for use on acrylic surfaces, as these will adhere well and resist scratching. Look for paint pens with archival-quality ink for the best results.
When it comes to the design, consider a simple yet elegant font to match your wedding theme. Practicing your lettering beforehand is crucial to achieving a polished look.
Use a brushstroke background to add a touch of sophistication, and opt for a light color to provide contrast with the plexiglass.
For perfect tracing, try placing a printed template underneath the acrylic sheet. This will allow you to achieve crisp, precise lines without the risk of mistakes.
To add an extra layer of protection, apply a clear coat of varnish once the paint is dry. This will help prevent scratching and ensure your sign remains looking its best throughout the wedding.
2. Pressed Flower Table Numbers
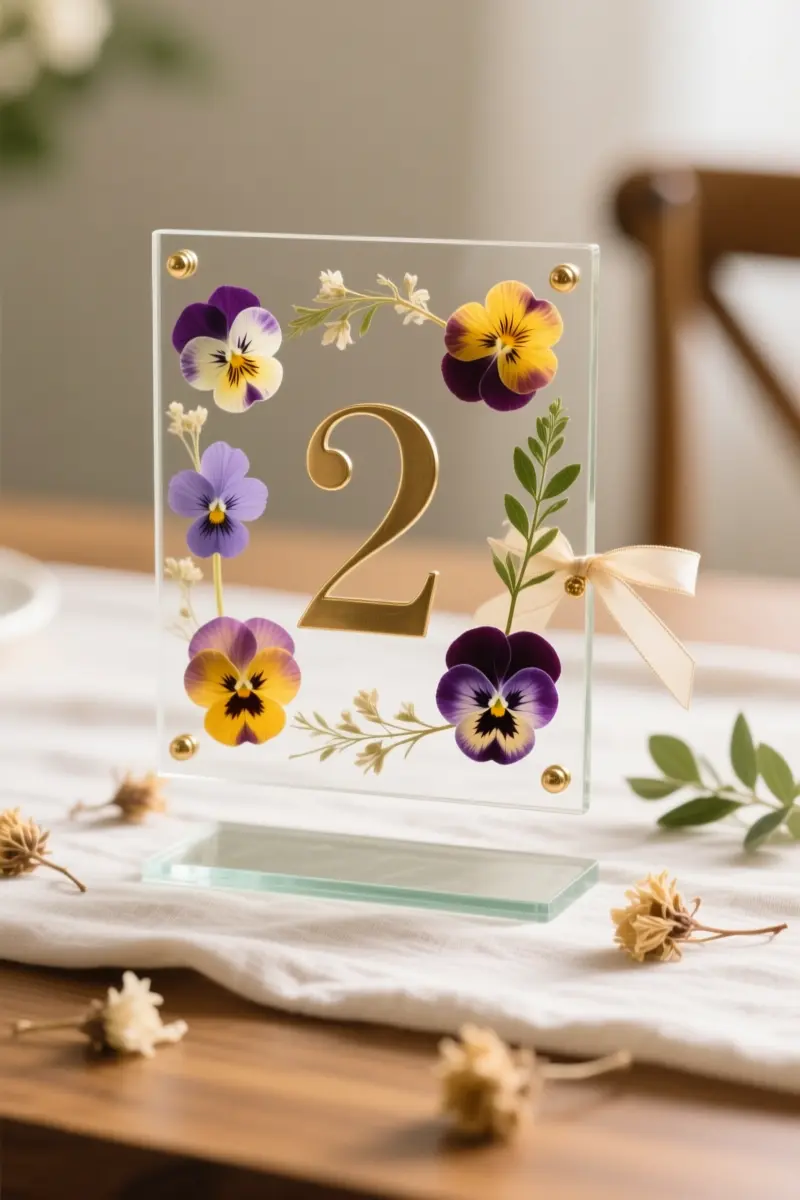
To create beautiful pressed flower table numbers, start by selecting delicate, colorful blooms that retain their hue when dried, such as pansies or violas.
Avoid thick-stemmed flowers like roses or peonies, as they can be difficult to press and may not lie flat. Once you’ve gathered your flowers, press them between sheets of paper or a flower press to remove excess moisture.
Next, choose double-sided glass floating frames to display your pressed flowers. These frames add an elegant touch and allow the flowers to be visible from both sides.
Adhesive brass numbers can be applied to the glass for a sophisticated, high-end look. For a seasonal twist, consider using rich, colorful foliage like maple or oak leaves in the fall. This adaptation adds a warm, autumnal feel to your table setting.
A practical tip for this DIY project is to press multiple flowers at once, so you have a variety to choose from when assembling your table numbers. This also ensures that you have enough flowers to complete all the numbers you need.
3. Thrifted Brass Candlestick Tablescapes
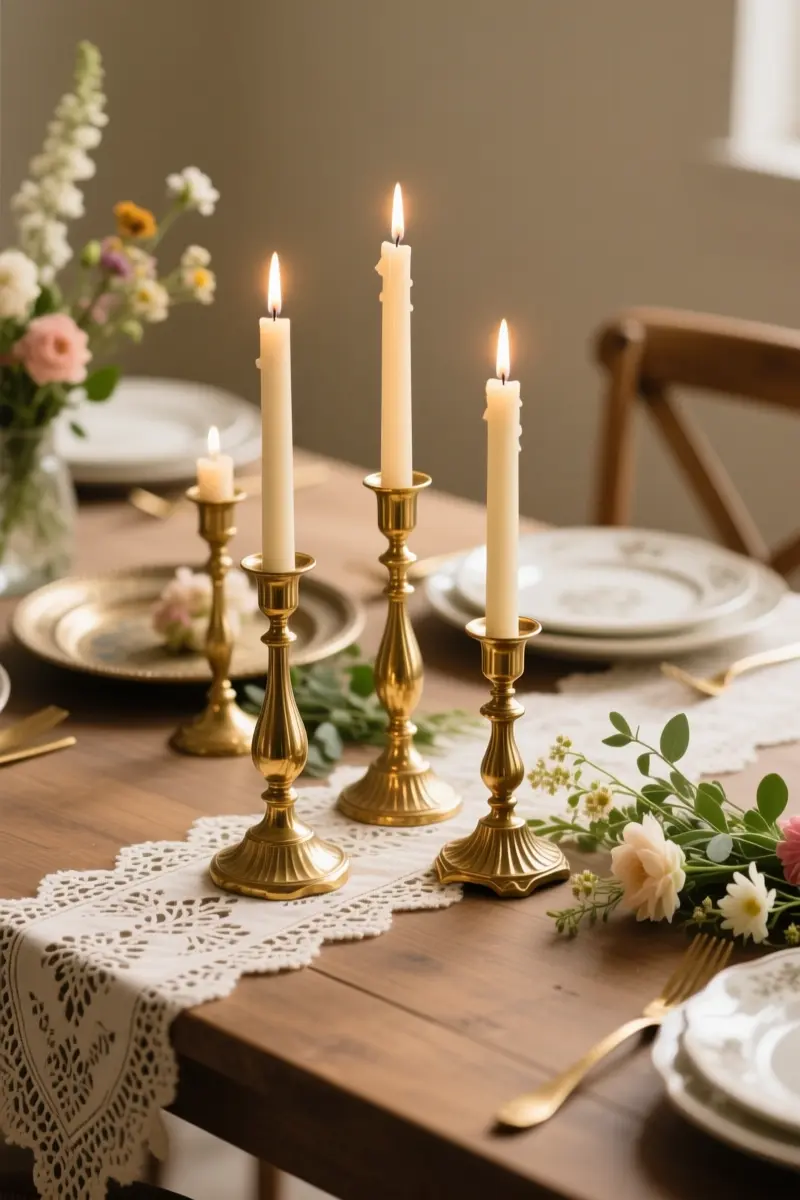
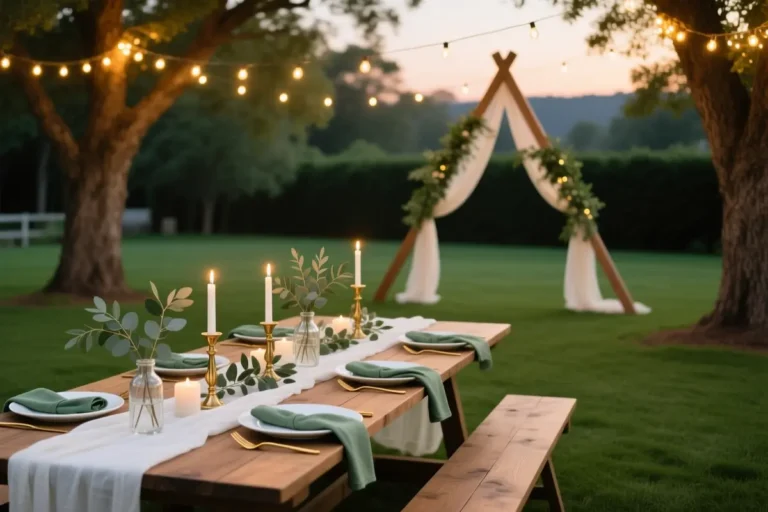
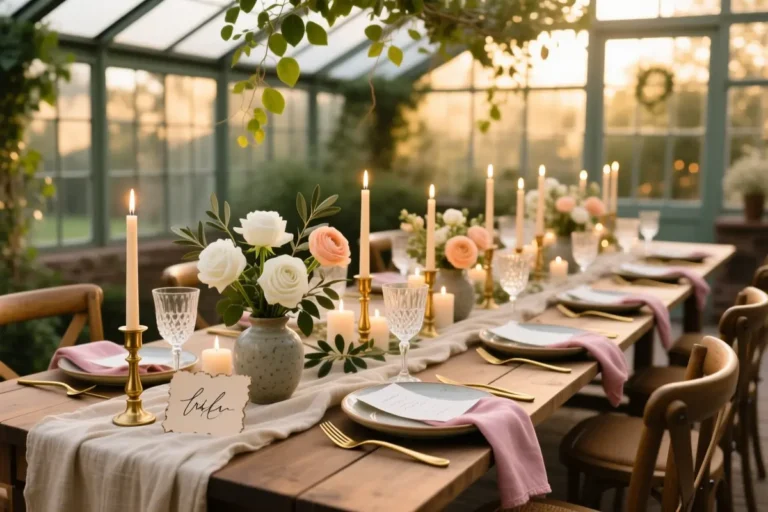
To create a unique and inviting tablescape, consider repurposing vintage brass candlesticks. Start by scouring thrift stores, estate sales, or online marketplaces for an assortment of brass candlesticks in varying heights and styles.
Once you’ve collected your candlesticks, give them a good cleaning with a gentle brass polish to restore their warm glow.
When styling your table, group the candlesticks in odd numbers to create visual interest and dimension.
For example, arrange three candlesticks of differing heights down the center of the table, or cluster five together on a decorative tray. This eclectic approach will add a touch of warmth and romance to your wedding decor.
However, before lighting any candles, be sure to check with your venue regarding their regulations on open flames. If candles are not permitted, consider using realistic LED taper candles as a safe and flame-free alternative.
This will allow you to achieve the same ambiance without compromising safety. By incorporating thrifted brass candlesticks into your tablescape, you’ll add a touch of vintage elegance to your wedding decor while staying within budget.
4. DIY Pampas Grass and Floral Arch Installations
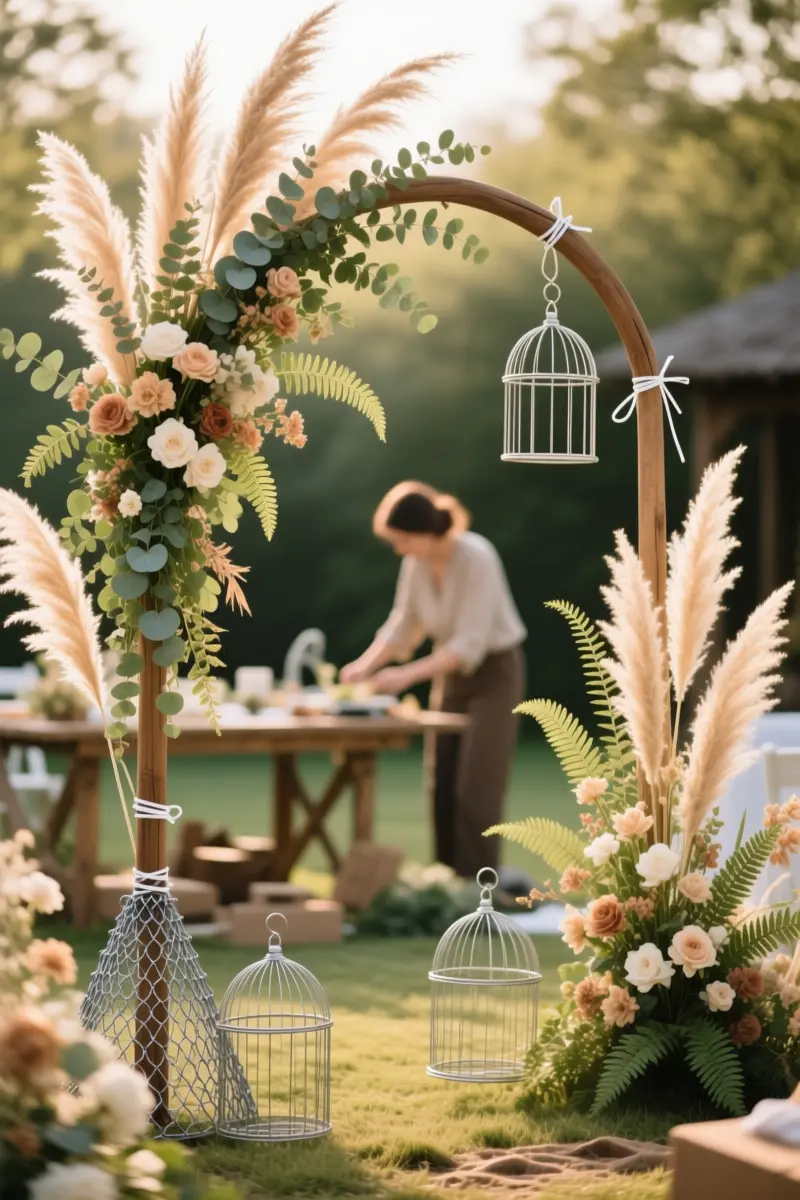
To create a stunning DIY pampas grass and floral arch installation, start by building a base structure using chicken wire and zip ties. This will provide the necessary support for your arch without adding too much weight.
For the floral elements, opt for faux silks or dried flowers, as they are lighter and more durable than fresh blooms. Heavy fresh flowers can make the arch unstable, especially in outdoor wind conditions.
When constructing the arch, focus on stability by ensuring the base is wide and secure. You can use weighted stands or sandbags to prevent the arch from tipping over.
Pre-assemble floral cages using wire frames and attach them to the arch structure using zip ties. This will make it easier to add the pampas grass and floral elements.
A practical tip is to use a mix of high and low pampas grass stems to create a visually interesting texture. You can also add some greenery like eucalyptus or ferns to fill in any gaps.
To make the arch more budget-friendly, consider using dried baby’s breath or Queen Anne’s lace instead of expensive flowers.
5. Hand-Poured Soy Wax Candle Favors
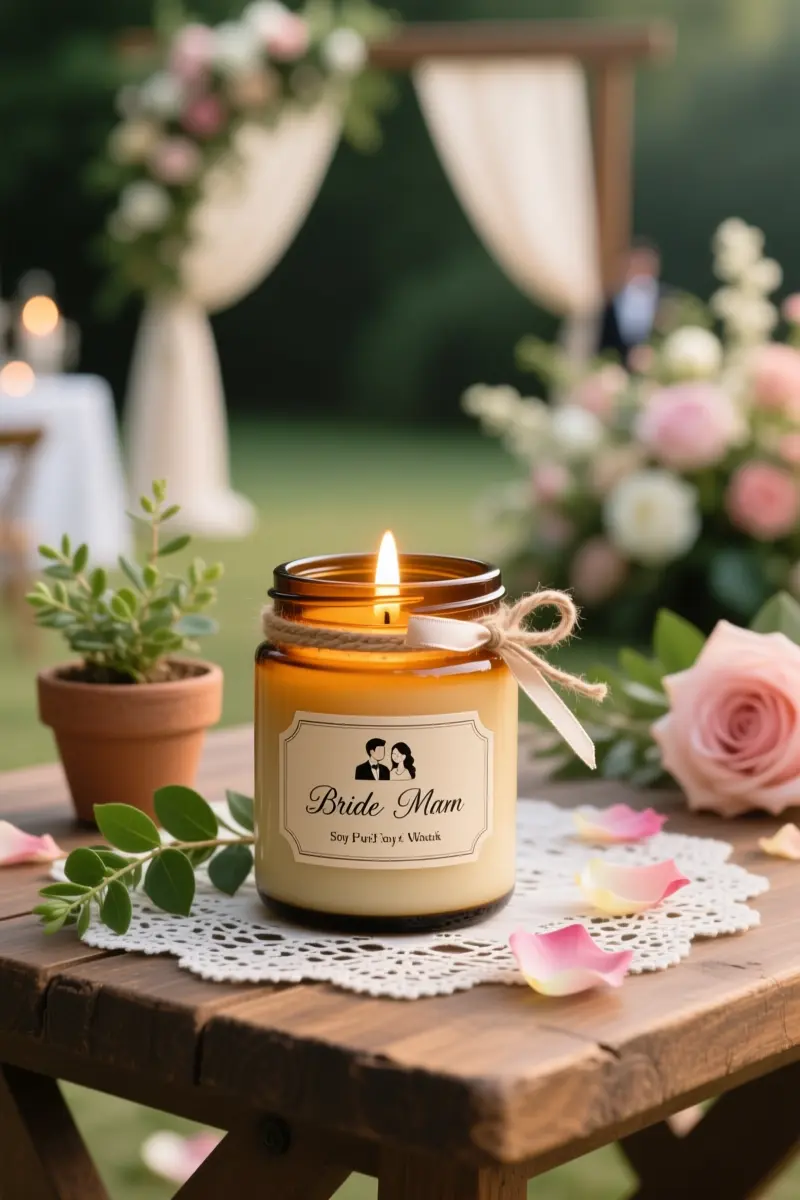
To create custom-scented soy wax candle favors, start by melting the wax in a double boiler. Add your chosen fragrance oil and stir well.
Pour the mixture into amber glass jars, leaving about 1/4 inch of space at the top. Allow the wax to cool and harden completely. This can take several hours, depending on the size of the candle.
Once hardened, attach personalized labels to the jars. These can include your names, the date of the wedding, or a special message.
The cost of making these candles yourself can be significantly lower than buying similar products in stores. For example, the materials to make 50 candles can cost around $100, which works out to $2 per candle. In contrast, buying 50 custom-scented candles can cost upwards of $500.
A key consideration when making soy wax candles is the cure time. This is the time it takes for the fragrance to fully bond with the wax, which can take several days to a week.
The scent throw, or how strongly the fragrance is released, will also change over time. It’s essential to plan ahead and make the candles well in advance of the wedding to ensure they have fully cured and the scent throw is optimal.
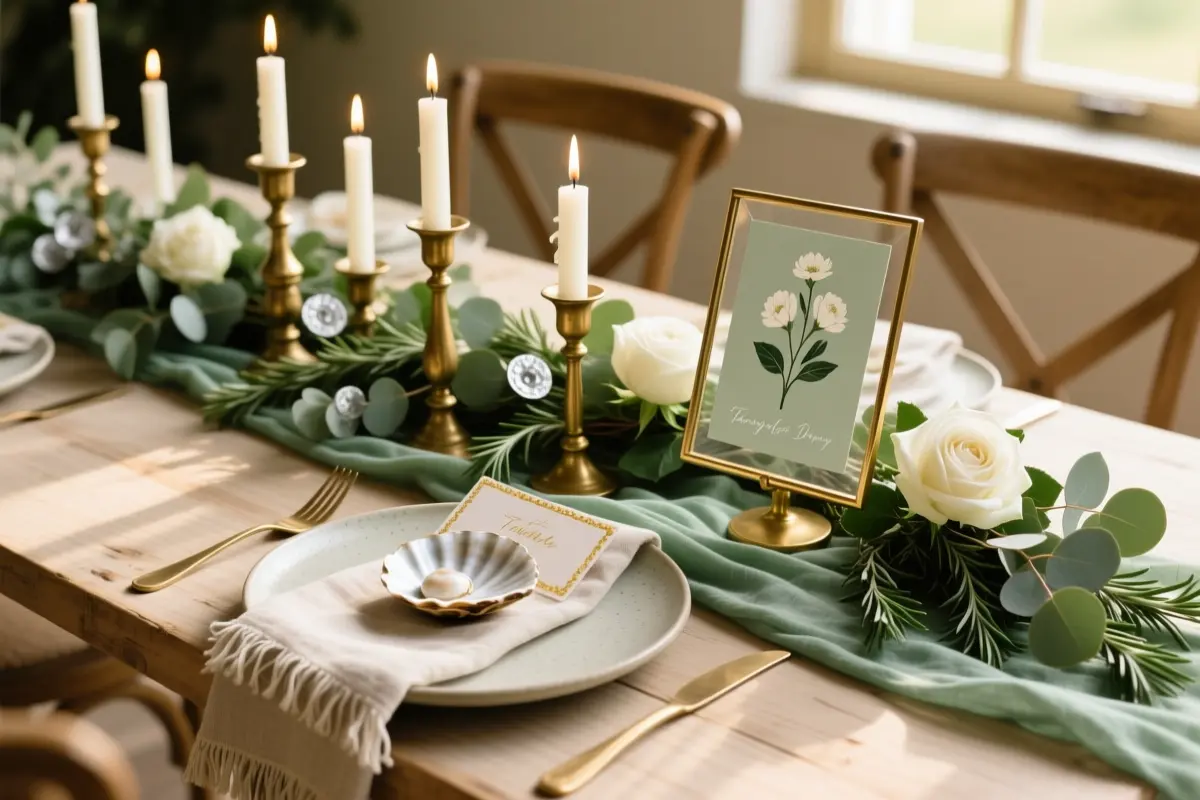
6. Fresh Eucalyptus and Rosemary Garland Runners
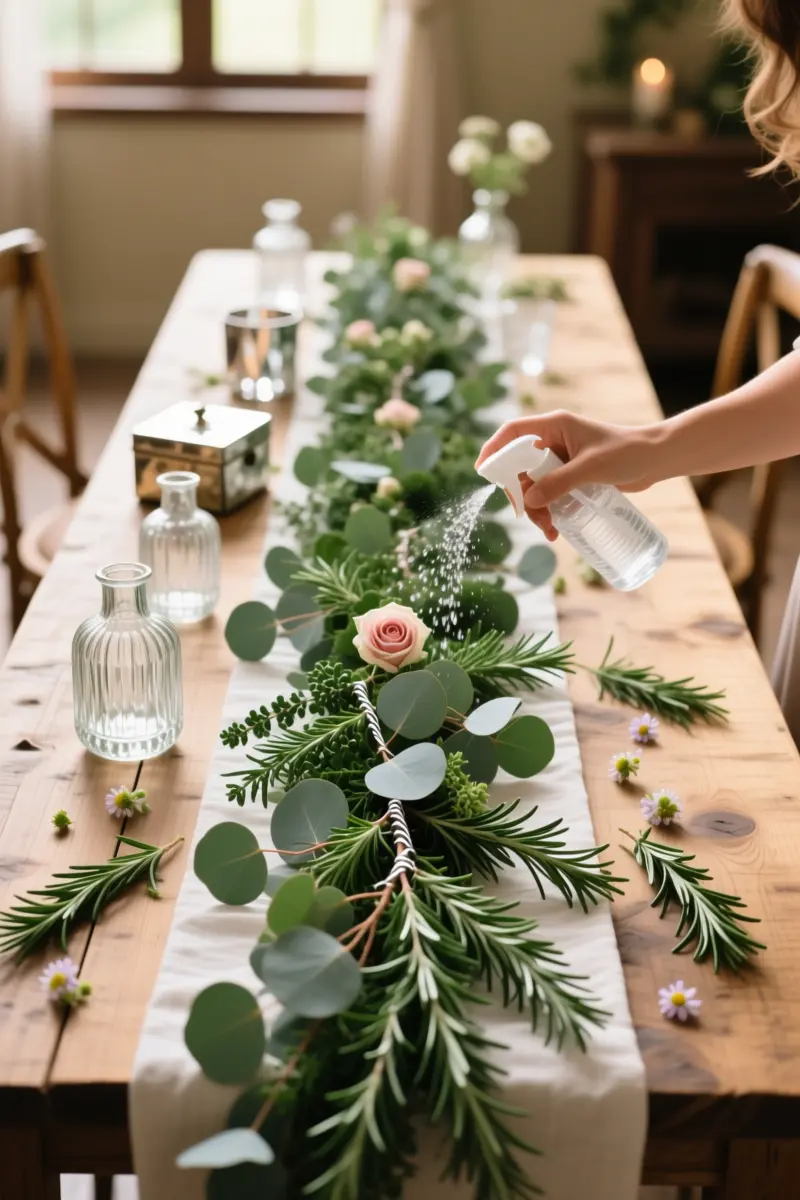
To create a stunning and fragrant table runner, start by gathering fresh silver dollar eucalyptus, Italian ruscus, and rosemary sprigs. Wire the stems together, working in sections to maintain a lush, even texture.
This DIY project requires some effort, but the end result is well worth it – estimate about 2-3 hours to complete, depending on the number of tables.
To keep your garland fresh, spritz the greenery with water daily and store it in the refrigerator until the wedding day.
This will help prevent wilting and ensure your runners look their best. For a more rustic, whimsical feel, consider adding some loose greenery or flowers to the tables alongside the garland.
One practical tip to keep in mind is to prepare your greenery just before the wedding, as this will help it stay fresh throughout the celebration.
If you’re looking for a budget-friendly alternative, consider using baby’s breath or ferns instead of eucalyptus and rosemary. This will still create a beautiful, lush look without the higher cost.
7. Polaroid Guestbook Station with Custom Backdrop
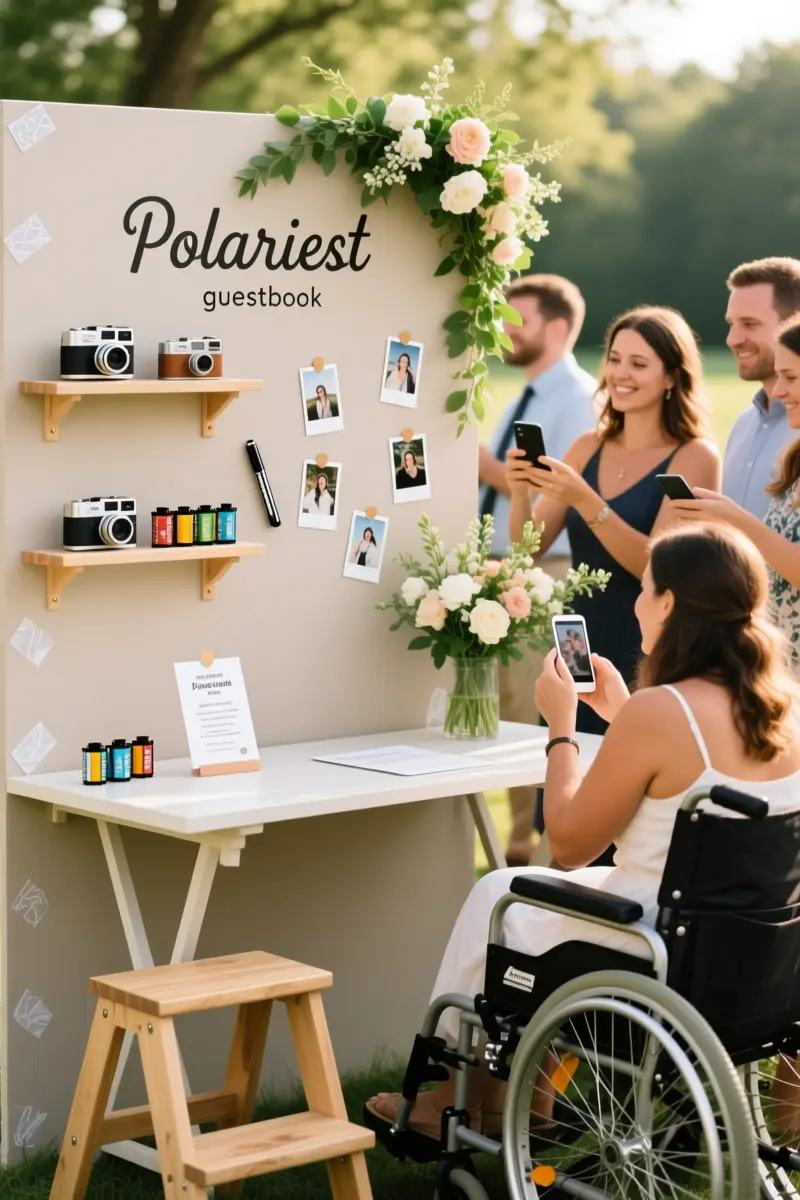
To create a Polaroid guestbook station, start by setting up a designated area with a custom backdrop. A simple wood or fabric design can be made to attract guests.
Consider a neutral color palette with a pop of greenery or florals to add visual interest. Use metallic markers to add a personal touch to the backdrop, such as the wedding hashtag or a special message.
For the Polaroid cameras, place them on a decorative table or shelf with plenty of film cartridges on hand.
Double-sided tape can be used to hang the photos on a nearby wall or board, creating a unique and interactive guestbook. To troubleshoot any issues with camera operation, consider leaving a simple instruction card or having a designated attendant to assist guests.
A practical tip is to have a small step-stool or chair available for guests to use when taking photos, especially for those with mobility issues.
This station is perfect for a summer or outdoor wedding, and can be adapted to fit any theme or style. By providing an interactive and fun way for guests to leave a message, you’ll create a memorable and personalized keepsake.
With a little creativity, this DIY station can be set up on a budget of under $100, making it a cost-effective and high-end-looking addition to your special day.
8. Hand-Dyed Cheesecloth Table Runners
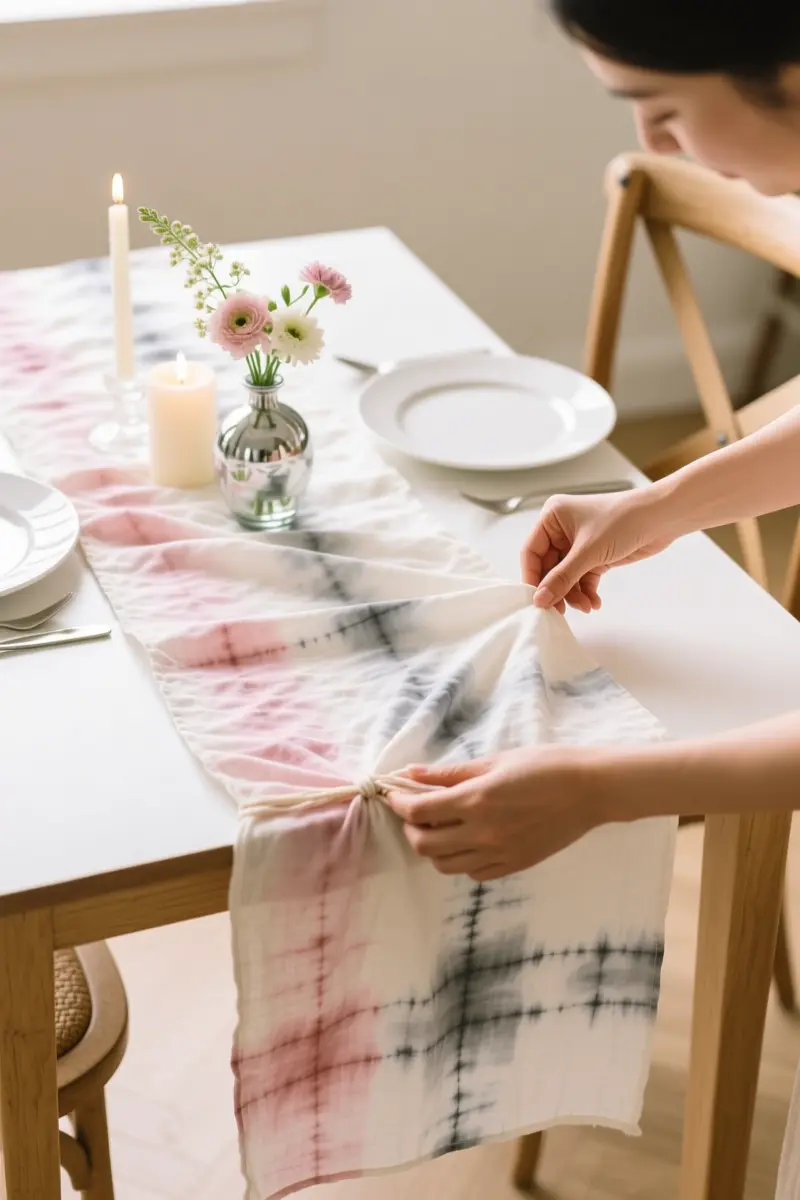
To create hand-dyed cheesecloth table runners that match your wedding palette, start by washing and drying the organic cheesecloth fabric to remove any finish that might affect the dye.
Then, soak the fabric in a mixture of water and white vinegar to prepare it for dyeing. For a natural, crinkled texture, avoid ironing the fabric beforehand. Instead, gently scrunch it up while it’s still damp to create a relaxed, rumpled look.
When dyeing, use a custom color tone that complements your wedding colors. Consider using a Shibori technique, where you bind or fold the fabric to create unique, resist-dyed patterns. This will add an extra layer of visual interest to your table runners.
To scale this project for different table shapes and lengths, simply cut the cheesecloth to size and adjust the amount of dye accordingly. A practical tip is to use a mixture of dye and fixative to ensure the color stays vibrant and doesn’t bleed.
By hand-dyeing your own cheesecloth table runners, you can achieve a high-end, bespoke look without the hefty price tag. This DIY project is perfect for couples on a budget who want to add a personal touch to their wedding decor.
9. Decoupage Oyster Shell Place Cards
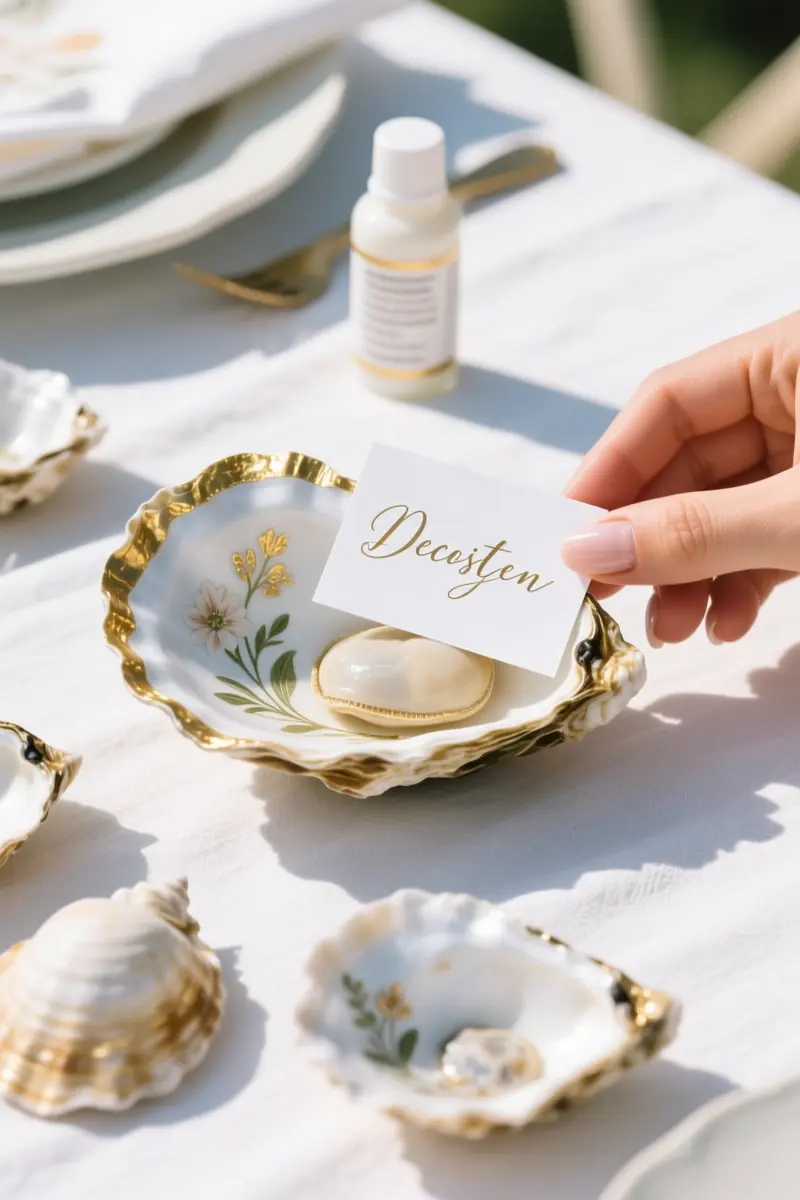
To create unique coastal place cards, start by collecting oyster shells and gently cleaning them with soap and water. Let them dry completely before painting the interior with a soft white or cream color.
This will provide a subtle base for your decoupage design. Cut out small designs from decorative paper napkins, such as floral patterns or delicate stripes, and apply them to the shell using a decoupage medium.
For an elevated touch, paint the rim of the shell with gold leaf paint, which adds a luxurious feel to the overall design. This small detail can make a big impact on individual place settings, giving your wedding a high-end, artisanal feel.
To avoid common mistakes, make sure the decoupage medium is fully dry before handling the shells, and consider adding a clear coat to protect the design.
This DIY project is budget-friendly and can be adapted to fit your coastal wedding theme, making it a beautiful and unique touch for your special day.
10. Floating Candle Cylinder Vases of Varying Heights
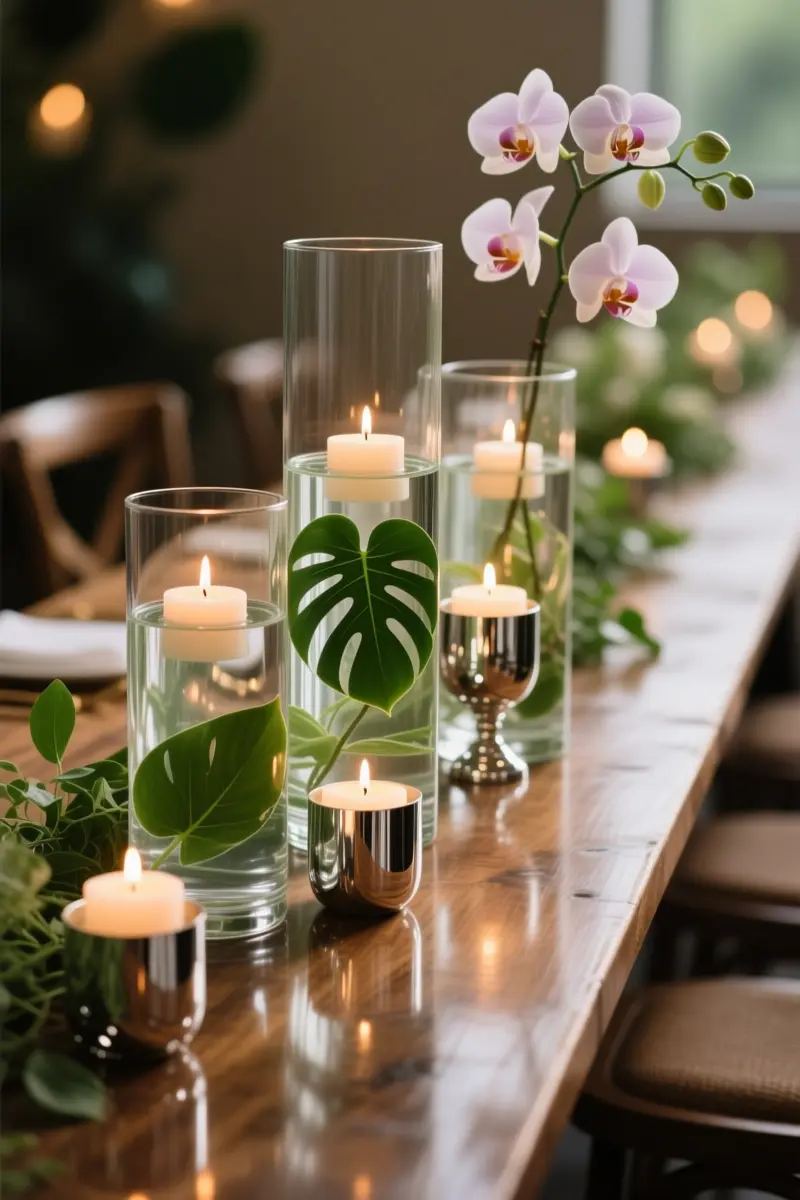
To create a stunning and elegant centerpiece, fill glass cylinder vases with water and add floating candles in mercury glass holders for a touch of sophistication. Submerge greenery like monstera leaves or orchids to add a pop of color and texture.
To prevent the greenery from floating to the surface, attach small fishing weights to the stems before submerging them. This trick ensures the leaves or flowers remain submerged, creating a beautiful and serene ambiance.
Grouping these vases in trios along the aisle or tables adds visual impact and creates a sense of harmony. The varying heights of the vases add depth and dimension to the overall design.
For a more dramatic effect, use vases of different diameters and fill them with varying numbers of candles and greenery. This DIY idea is not only budget-friendly but also easy to customize to fit your wedding theme and style.
By using seasonal greenery and candles in soft hues, you can create a timeless and romantic look that will leave a lasting impression on your guests.
11. Upcycled Vintage Gold Frame Seating Charts
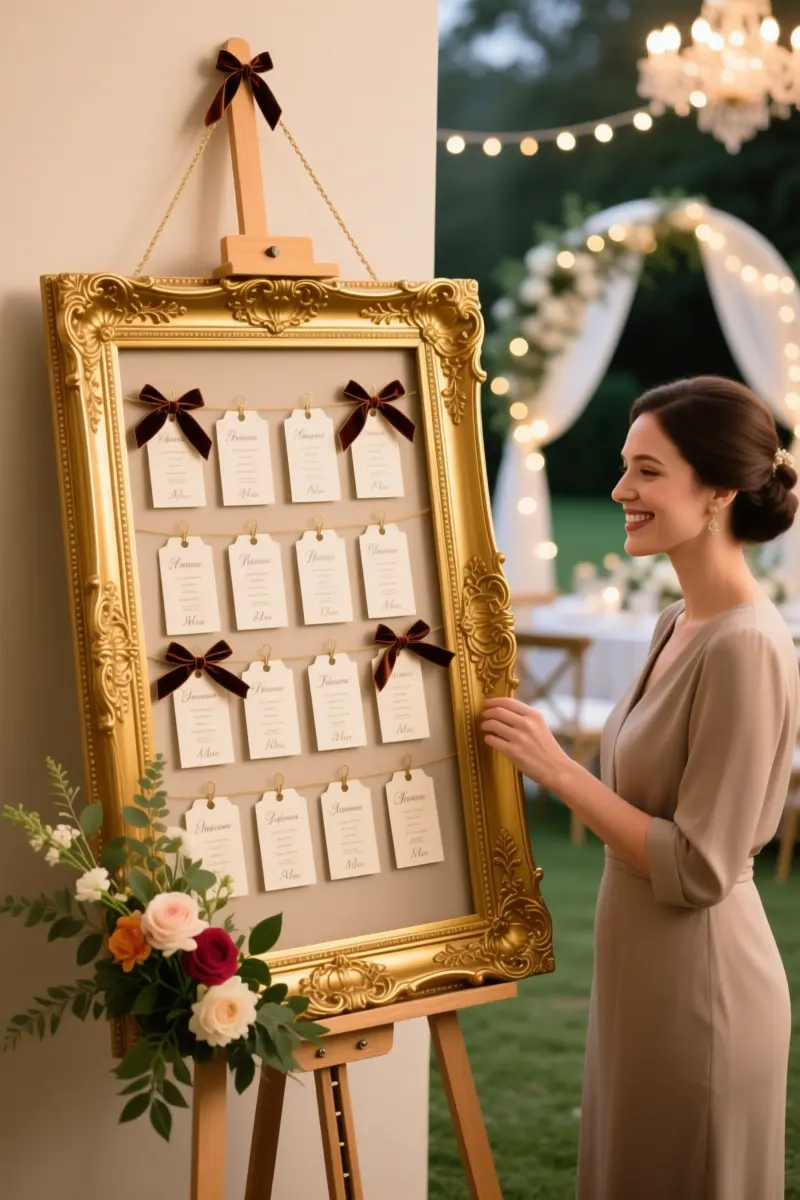
Transforming thrifted, ornate frames into unique seating charts is a creative way to add a personal touch to your wedding.
Start by selecting frames with intricate details and metallic spray paint them in a uniform gold tone. Next, design custom escort cards with clear, easy-to-read fonts – avoid using calligraphy fonts that may be hard to decipher.
Suspend the escort cards from the frames using velvet ribbons, which add a touch of elegance. To make it easy for guests to find their names, organize the cards in alphabetical order or by table number.
Consider grouping tables by category, such as friends, family, or coworkers, to create a sense of community.
A common mistake to avoid is overcrowding the frames, which can make it difficult for guests to find their names. Leave some space between each card to create a clean and visually appealing display.
This DIY project is not only budget-friendly but also reusable – you can repurpose the frames as decorative pieces in your home after the wedding.
12. Biodegradable Petal Toss Bar
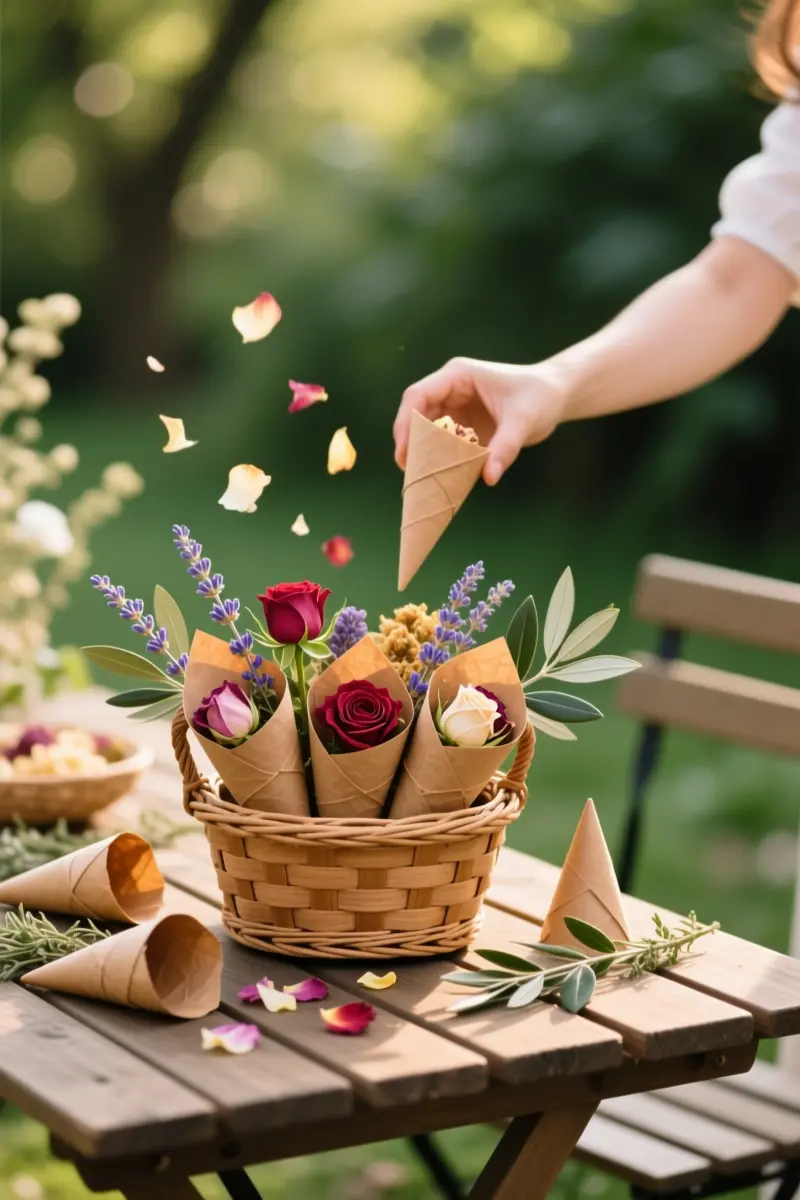
Create a beautiful and eco-friendly post-ceremony toss with a biodegradable petal toss bar. Fill brown paper cones with a mix of dried rose petals, lavender, and olive leaves for a romantic and fragrant combination.
To source these materials affordably, consider buying dried flowers and herbs in bulk from a local craft store or online supplier.
This DIY station is not only budget-friendly but also venue-friendly, as the biodegradable materials won’t harm the environment or leave a mess.
When setting up the toss bar, place the filled cones in a decorative basket or container and add a few loose petals and leaves around it for a whimsical touch.
A practical tip is to have a designated area for guests to dispose of the cones after the toss, making cleanup a breeze. This idea works perfectly for an outdoor wedding, especially during spring and summer when flowers are in bloom.
For a smaller gathering, consider using smaller cones or fewer materials to scale down the station. Overall, this DIY petal toss bar is a lovely and earthy way to celebrate your special day without breaking the bank or harming the environment.
13. Hand-Stitched Fabric Cocktail Napkins
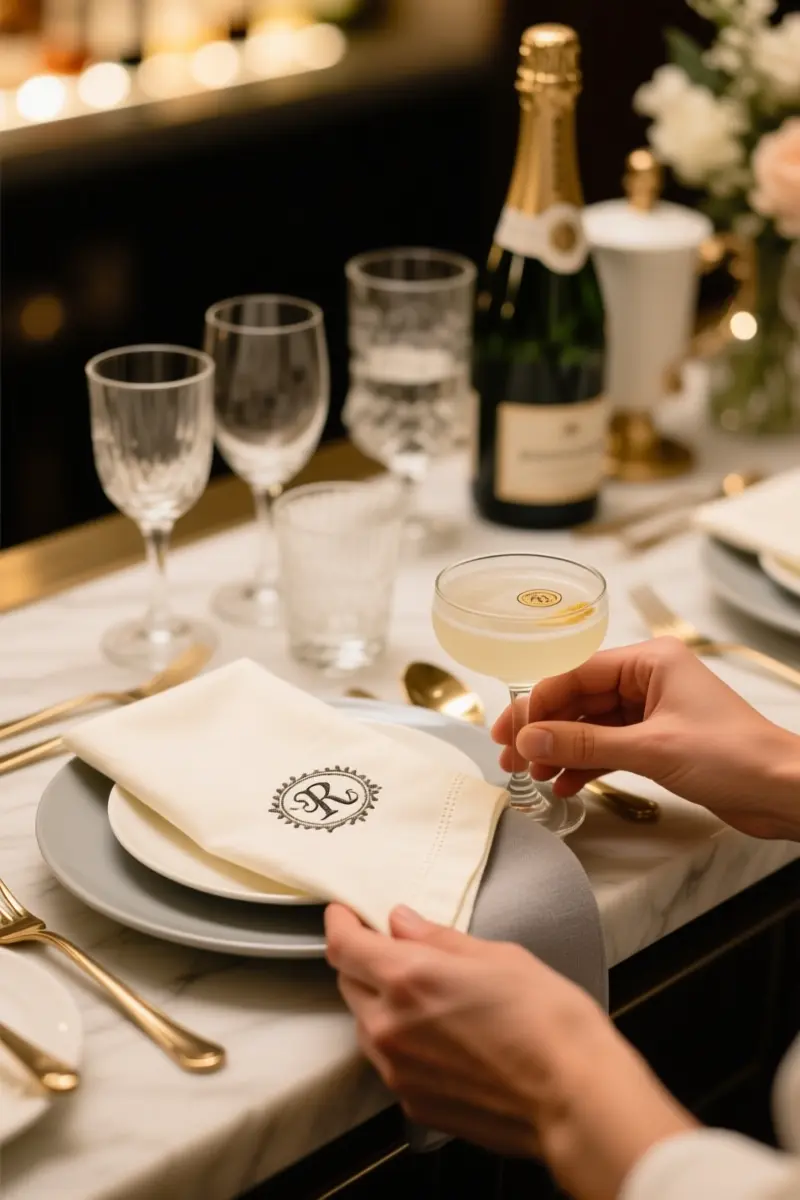
To create hand-stitched fabric cocktail napkins, start by cutting linen or cotton fabric into 5×5 inch squares. Fringe the edges by cutting a 1/4 inch strip along each side, which adds a textured touch.
For a personal touch, add a tiny hand-embroidered monogram or a custom stamp with your wedding initials. This elevates the bar experience and makes the napkins truly special.
The estimated time investment for this project is around 2-3 hours for a set of 20 napkins, depending on the complexity of the embroidery or stamp design.
It’s a great project to work on months in advance, as the napkins can be easily stored and reused. A practical tip is to use a simple running stitch for the embroidery, which is easy to learn and requires minimal expertise.
When choosing the fabric, consider a neutral color that complements your wedding theme, such as ivory, beige, or gray. This ensures the napkins blend seamlessly with your overall decor.
14. Repurposed Wooden Ladder Dessert Display
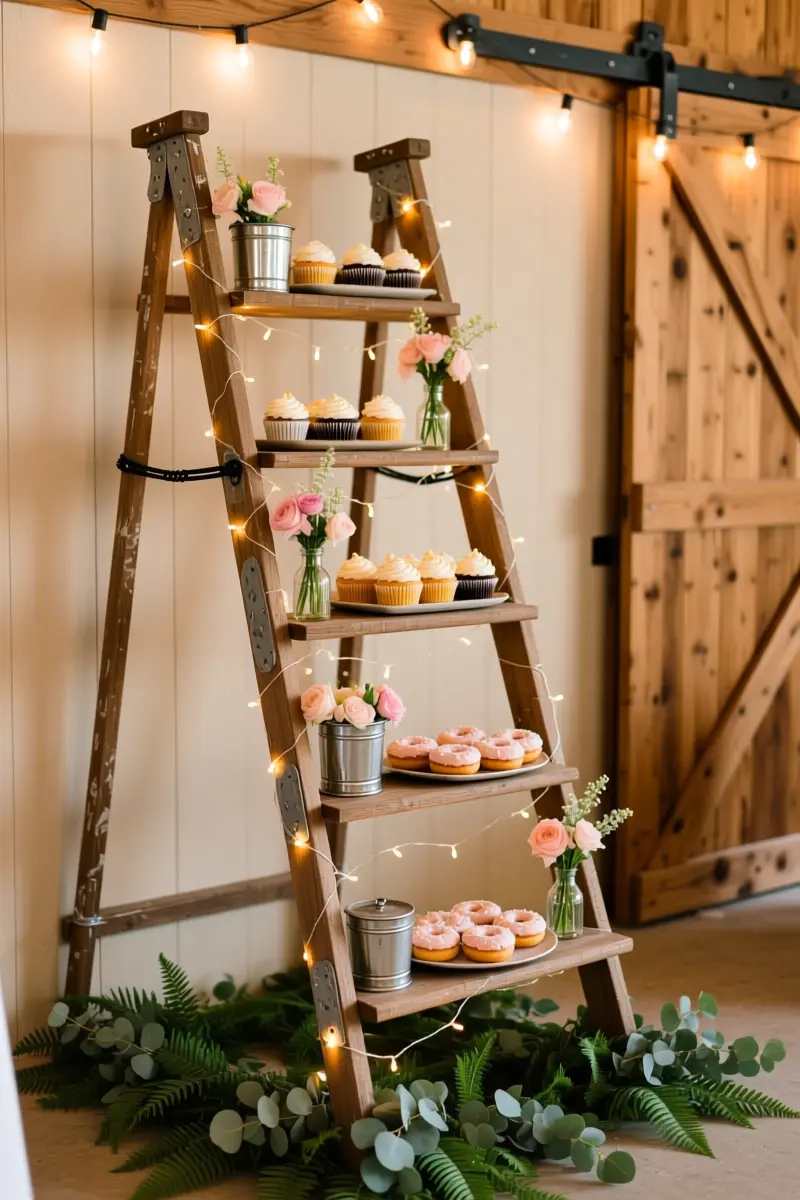
To create a stunning repurposed wooden ladder dessert display, start by selecting a vintage A-frame ladder with a rustic charm.
Clean the ladder thoroughly with a mixture of soap and water to remove any dirt or debris. Next, paint the ladder with a soft, muted color to enhance its rural appeal.
To add a functional touch, attach wide wooden planks across the rungs, making sure to secure them tightly to support the weight of the desserts.
Consider the weight-bearing limitations of the ladder and ensure it’s stable to prevent any accidents. A simple trick to enhance stability is to attach the ladder to a nearby table or wall using cable ties or brackets.
Style the display by arranging an assortment of cupcakes or donuts on the planks, and incorporate small bud vases with fresh flowers to add a pop of color. Warm fairy lights can also be woven through the ladder’s rungs to create a cozy ambiance.
This display is perfect for a rustic-themed wedding, and can be adapted to fit various wedding styles by changing the color scheme or decorations.
Time to Get Crafting
With these 28 creative DIY wedding ideas, you’ll be well on your way to creating a beautiful and memorable wedding that reflects your personal style. Remember, it’s all about the details, so don’t be afraid to get creative and add your own unique touch to each project.
Save your favorite ideas for later and start crafting your dream wedding today. Share your DIY wedding projects with friends and family, and don’t forget to bookmark this article for future reference.
Frequently Asked Questions
How far in advance should you start DIYing wedding decor?
It is best to start non-perishable DIY projects (like signage, table numbers, and candle holders) 4 to 6 months before the wedding. Fresh floral elements, greenery runners, and food-related items should only be assembled 24 to 48 hours before the event to keep them fresh.
What wedding decor items are the easiest and most budget-friendly to DIY?
Signage, floating candle centerpieces, cheesecloth table runners, and printed paper materials like menus or escort cards are the easiest and most cost-effective to make. They require minimal specialized tools and carry a low risk of aesthetic failure.
What wedding elements should you avoid DIYing?
Avoid DIYing complex floral arrangements, high-voltage lighting, catering, or intricate wedding cakes. These items require professional expertise, strict temperature controls, and massive time investments on the actual wedding day, which can cause extreme stress.
How do you transport delicate DIY wedding decor to the venue safely?
Pack items in sturdy, labeled plastic bins wrapped individually in bubble wrap or packing paper. Group items by their designated station (e.g., ‘Welcome Table’ or ‘Bar Decor’) and assign a trusted friend, family member, or coordinator to handle the setup.
How can I prevent my DIY wedding projects from looking cheap?
Focus on high-quality raw materials like linen, glass, wood, and brass while avoiding shiny plastics or synthetic glues. Stick to a cohesive color palette, use high-quality fonts or stencils instead of freehand writing, and keep the designs simple and minimalist.