
The Ultimate Wedding Planning Checklist Bundle: Your Step-by-Step Guide & Creative Ideas
The Ultimate Wedding Planning Checklist Bundle: Your Step-by-Step Guide & Creative Ideas
Planning a wedding can be overwhelming, with countless details to consider and decisions to make. From choosing the perfect venue to selecting the right flowers, it’s easy to feel like you’re drowning in a sea of options.
That’s why having a comprehensive wedding planning checklist bundle is essential. In this guide, we’ll walk you through the steps to create a personalized checklist that fits your unique needs and style, helping you stay organized and focused on what really matters – celebrating your special day with loved ones.
Step 1: Choose the Right Checklist Bundle Format for Your Planning Style

When selecting a wedding planning checklist bundle format, consider your personal planning style. Tech-savvy couples may prefer digital tools like Google Sheets or Notion, which offer real-time collaboration and automatic updates.
On the other hand, tactile planners may enjoy a physical, printable binder that provides a tangible sense of progress. As someone who has worked with numerous couples, I’ve seen that a clean and simple setup is key to avoiding decision fatigue.
Start by identifying your must-have categories, such as venue, catering, and photography. Then, choose a format that allows you to easily organize and access these categories.
For example, if you opt for a digital tool, create separate sheets or pages for each category and use clear headings and columns to keep information concise.
If you prefer a physical binder, use dividers and tabs to separate categories and include plenty of space for notes and ideas. A well-organized checklist bundle will save you time and stress in the long run, allowing you to focus on the fun aspects of wedding planning.
By choosing a format that suits your style, you’ll be able to stay on top of your planning tasks and enjoy a more streamlined process.
Step 2: Customize the Master Timeline to Your Engagement Length
To tailor your wedding planning checklist to your unique engagement timeline, start by identifying the non-negotiables: securing a venue and setting a date.
These two elements will dictate the flow of your entire planning process. For shorter engagements, prioritize these tasks above all else, as they’ll have a ripple effect on every subsequent decision.
For example, if you’re working with a 6-month engagement, you’ll need to book a venue and choose a date within the first 2-3 months to ensure availability.
On the other hand, couples with longer engagements can afford to take a more leisurely approach, spacing out tasks like vendor selection and guest list finalization over several months.
A common mistake is trying to tackle every task at once, which can lead to burnout and poor decision-making. Instead, focus on the most critical elements first, and then fill in the details as your wedding date approaches.
Remember, every wedding is unique, and what works for a grand-scale celebration may not be suitable for a micro-wedding. Be realistic about your timeline and adjust your expectations accordingly.
Step 3: Establish and Track Your Budget with Allocation Sheets
To establish and track your wedding budget, start by setting up a dedicated tab within your planning bundle spreadsheet.
Allocate columns for categories like venue, catering, attire, and floral design, using industry-standard percentages as a guideline: 40-50% for venue and catering, 10-15% for attire, and 8-12% for floral design.
A practical tip is to color-code your expense trackers to visualize paid deposits and outstanding balances easily.
For example, use green for paid invoices and red for pending payments. This visual system helps you stay on top of your finances and avoid overspending.
Building a 10% emergency fund directly into your spreadsheet is also crucial. This fund will cover hidden costs like taxes, delivery fees, and tips.
By factoring in this contingency, you’ll avoid last-minute financial stress. For instance, if your total budget is $10,000, allocate $1,000 as an emergency fund.
Review and update your budget regularly to ensure you’re on track and make adjustments as needed. This proactive approach will help you stay within your means and enjoy a stress-free wedding planning experience.
Step 4: Map Out Your Guest List and Floor Plan Sheets

To map out your guest list and floor plan, start by creating a master list of all potential guests, including names, relationships, and contact information.
Next, categorize your guests into tiers, such as immediate family, close friends, and acquaintances. This will help you prioritize and make cuts if needed.
A useful rule of thumb is to consider the 80/20 rule: 80% of your interactions are with 20% of your guests. Focus on inviting those closest to you and trim the list from there.
When tracking RSVPs, use a spreadsheet or online tool to keep everything organized. Be sure to include columns for dietary restrictions and special requests.
For seating assignments, create a dynamic chart that allows you to easily move guests around. A common mistake to avoid is not coordinating table numbers with your caterer, which can lead to confusion on the day of the wedding.
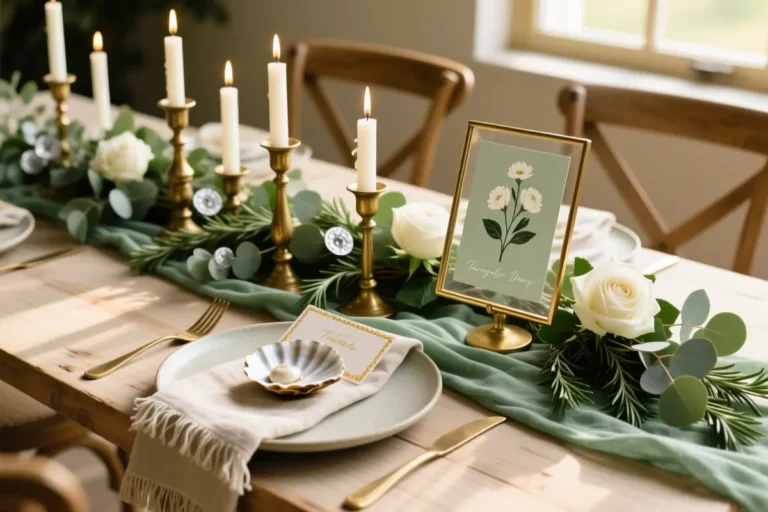
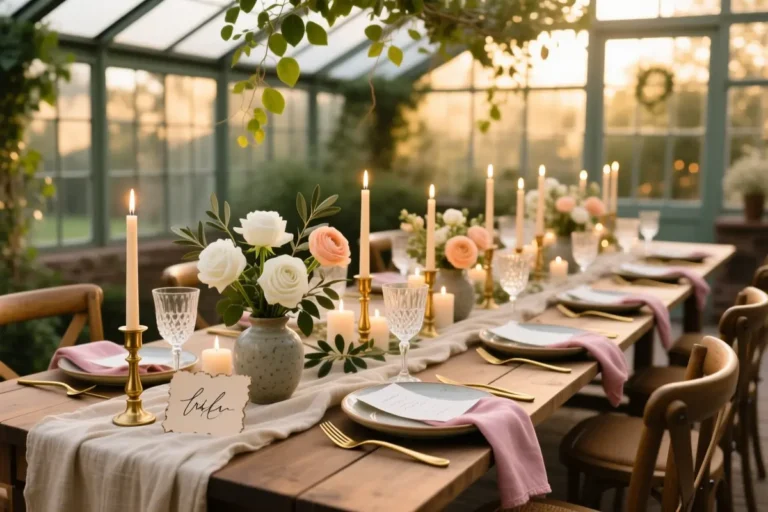
To add a visual touch, match your seating assignments with your table design. For example, use a calligraphy font on your place cards to match your table runners. By doing so, you’ll create a cohesive and polished look that will impress your guests.
Step 5: Use Vendor Comparison Sheets to Book Your Dream Team
To assemble your dream team of vendors, create a comparison worksheet for each category, such as photographers, florists, and caterers.
List the vendors’ names across the top and key contract parameters down the side, including pricing, setup times, and overtime fees. Fill in the details for each vendor, allowing you to easily compare and contrast their services.
This helps you avoid the common mistake of choosing a vendor based solely on price, only to discover hidden fees or restrictive contract terms later on.
For example, a photographer may offer a lower rate, but charge extra for travel or equipment rentals. By evaluating all the factors, you can make informed decisions and find the best fit for your wedding.
Keep your comparison worksheets organized and easily accessible to your planning party by storing them in a shared digital folder or binder. This ensures everyone is on the same page and can provide input on vendor selections.
A practical tip is to also include a column for notes, where you can jot down impressions from meetings or phone calls, helping you remember the personalities and working styles of each vendor.
Step 6: Integrate Aesthetic Mood Boards with Your Planning Ideas
To merge logistical planning with creative aesthetic goals, start by identifying the core elements of your wedding vision, such as the color scheme, bridal attire, and reception decor.
Consider the ‘rule of three’ in event design, where you balance three main visual elements to prevent sensory overload.
For example, if you’re planning a summer wedding, you might focus on a pastel color scheme, floral arrangements, and string lighting.
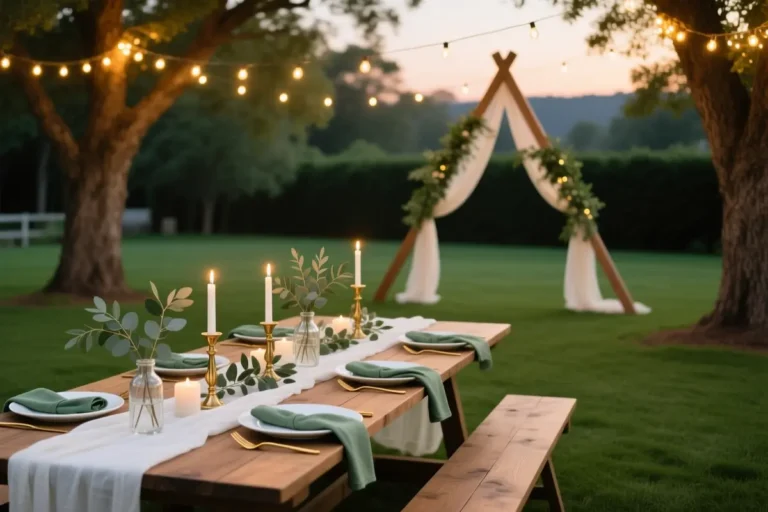
When it comes to bringing your aesthetic vision to life, focus on simplicity and impact. Instead of complex floral plans, consider using a mix of high and low centerpieces, with greenery and candles adding depth and texture.
For lighting, use fairy lights or lanterns to create a warm ambiance without breaking the bank. To scale your decor ideas, prioritize multi-use items, such as using benches as both seating and decorative elements.
By merging your logistical checklist with your aesthetic goals, you’ll create a cohesive and visually stunning wedding celebration that reflects your personal style.
Remember, it’s all about balance and harmony – and with a little creativity, you can achieve a beautiful and memorable wedding without overspending.
Step 7: Finalize the Day-Of Run Sheet and Wedding Day Emergency Checklist

To create a seamless wedding day experience, a detailed day-of run sheet is essential. Start by listing all events, from hair and makeup to the reception send-off, and assign a specific time slot to each.
Consider the travel time between venues, photo shoot schedules, and any other activities that may impact the timeline. Delegate tasks to trusted wedding party members or hire a professional coordinator to oversee the logistics.
A well-organized run sheet should include setup and teardown times, vendor arrival and departure schedules, and a clear chain of command for last-minute decisions. For example, designate a point person to handle any issues that may arise during the ceremony or reception.
In addition to the run sheet, prepare a wedding day emergency kit with essentials like bobby pins, tissues, and pain relievers. This kit should also include a mini sewing kit, breath mints, and a phone charger.
Having these items on hand will help mitigate any unexpected issues and ensure a stress-free celebration. Remember to share the run sheet and emergency kit checklist with your wedding party and vendors to ensure everyone is on the same page.
One Last Check
With your wedding planning checklist bundle in hand, you’re ready to tackle every aspect of your big day with confidence. Remember to stay flexible, prioritize what truly matters to you, and don’t hesitate to ask for help when you need it.
Before you start planning, save this guide for later and bookmark your favorite wedding ideas on Pinterest to reference throughout your journey. Share your wedding planning progress with your partner or wedding party to keep everyone on the same page, and get ready to celebrate the wedding of your dreams.
Wedding Planning Checklist & Bundle FAQs
What is included in a wedding planning checklist bundle?
A comprehensive wedding planning checklist bundle typically features a master monthly timeline, a customizable budget tracker, a guest list manager, RSVP trackers, seating chart worksheets, vendor comparison templates, and a day-of run sheet.
How do I customize a digital wedding checklist for a 6-month engagement?
To adapt a checklist for a shorter timeline, compress tasks by booking critical vendors (venue, photographer, caterer) immediately in month one, prioritizing custom attire orders, and condensing minor detail planning into the final eight weeks.
Should I use a Google Sheets or printable wedding checklist bundle?
Choose Google Sheets if you want dynamic budget calculations, real-time sharing with your partner or planner, and digital access on the go. Choose printables if you prefer a tactile, offline experience or wish to keep a physical scrapbook keepsake.
What is the most common task forgotten on a wedding checklist?
Couples frequently overlook marriage license application windows, vendor meal counts for catering, booking transportation for guests, and assigning someone to pack up gifts and decor at the end of the reception.