How to Plan a Summer Wedding: A Practical Step-by-Step Guide
How to Plan a Summer Wedding: A Practical Step-by-Step Guide
On the sweltering day we tried to host our beachside ceremony, the heat hit 95°F, the bridal party sweated through their gowns, and the caterer scrambled to keep the ice cream from melting. That frantic scramble left us wishing we’d planned for the summer’s unforgiving temperature from the start.
In this guide, you’ll learn how to lock down a venue with indoor‑outdoor backup, set a realistic heat‑mitigation budget, craft a guest‑comfort plan, choose breathable attire, design heat‑resistant florals, coordinate a weather‑smart menu, and map a sunset‑optimized timeline. Follow the steps and your summer wedding will run smoothly without extra stress.
Step 1: Secure a Venue with Indoor-Outdoor Contingencies
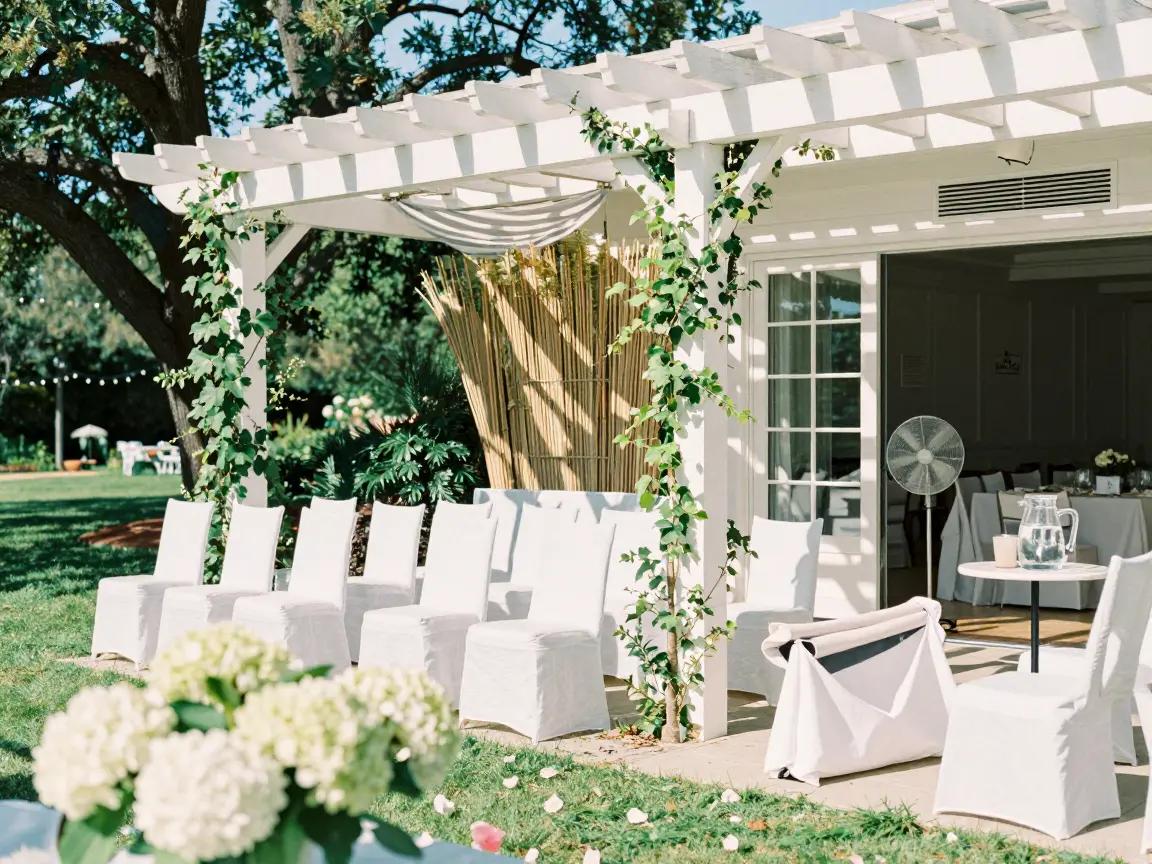
Guests will sweat before the ceremony if the site lacks shade or a way to cool a sudden heat spike. Start by walking the property at midday; if you can’t find at least three natural shade points or a pergola covering 30 % of the ceremony area, the venue fails the “shade rule.”
Ask the manager whether the indoor ballroom has a dedicated HVAC line that can be activated within 30 minutes of a rain call‑out; write that capability into the contract with a minimum 48‑hour rain‑or‑shine deadline clause.
A common mistake is renting a high‑capacity tent without built‑in ventilation or portable air‑conditioners, which quickly turns the reception into a sauna.
If budget constraints rule out a climate‑controlled backup, consider a nearby community hall or function room with air conditioning, which often rents for $500 to $1,200.
Execution tip: place portable fans near the tent’s sidewalls and run a misting system during the cocktail hour to lower ambient temperature.
- climate‑controlled backup
- flexible layout
- higher contract cost
- strict call‑time deadline
tent without cooling can cause heat stress for guests
- shade or pergola coverage
- HVAC‑ready indoor space
- rain‑proof backup venue
- contract clause with call‑time deadline
- cooling plan for tent
Step 2: Set a Realistic Heat-Mitigation and Service Budget
Outdoor summer weddings often look cheaper on paper, but the hidden cooling costs quickly add up. Ice generators, portable restrooms with ventilation, and shade tents run $300‑$1,000 extra, plus you’ll need at least two staff members to keep water stations stocked. If you allocate $800 for this infrastructure, you’ll have less room for premium floral arrangements or an upgraded bar.
A splurge version might include a full‑size refrigerated misting system ($1,200) and a dedicated hydration bar, while a budget‑friendly approach uses a rented ice chest, a simple canopy, and a single water attendant.
- Keeps guests comfortable
- Reduces decorative budget
- Extra cooling cost
- Requires more staff coordination
- Cooling infrastructure: $300‑$1,000
- Premium misting system: $1,200
Step 3: Build a High-Temperature Guest Comfort Strategy
A bright white parasol anchored at the entrance signals the first comfort station. Set up two identical stations, one on each side of the walkway, each with a sturdy parasol, a wall‑mounted sunscreen pump, a large glass jar of electrolyte water topped with ice, and a low‑profile fan on a rechargeable battery. The stations work best for midsize weddings of 80‑150 guests, especially when many older relatives or toddlers will be outdoors.
Reuse the parasols and fans for future events; only the ice and sunscreen need daily replenishing. Assign one attendant per station to rotate ice and tidy spills, preventing the clutter that can block the path. A quick tip: keep the ice in insulated coolers to stay frozen longer.
- immediate sun relief
- visible care for elders
- can block the walkway
- needs staff to restock
- Parasols with weighted bases
- Sunscreen dispensers
- Electrolyte drink jars with ice
- Battery‑powered fans
Place stations opposite sides of aisle to avoid bottlenecks
Step 4: Select Breathable Attire and Fabric Options for the Wedding Party
Linen‑wool blend blazers in 6‑oz weight keep a groom cool while still holding shape for a midsize outdoor ceremony. Pair them with unlined cotton shirts; the lack of lining reduces trapped heat and eliminates that “stuck‑in‑a‑sweater” feeling.
For bridesmaids, choose silk organza gowns in pastel hues like dusty rose; the light sheen masks light perspiration better than matte fabrics.
A practical alternative for tighter budgets is a high‑quality rayon‑viscose blend, which drapes similarly but tolerates more creasing. Remember to press garments on a low‑heat setting and store them hanging to avoid deep wrinkles. This approach works best for curvy figures who need a bit of structure and for gatherings of 50‑150 guests.
Splurge on a tailored Italian wool suit for the father of the bride, or opt for an off‑the‑rack unlined seersucker for the groomsmen.
- Breathable comfort
- Maintains silhouette
- Wrinkles easily
- Shows moisture marks
- Linen‑wool blend weight: 6 oz
- Ideal color: pastel with slight sheen
- Suit lining: none for heat reduction
Step 5: Design Heat-Resistant Floral and Tablescape Layouts

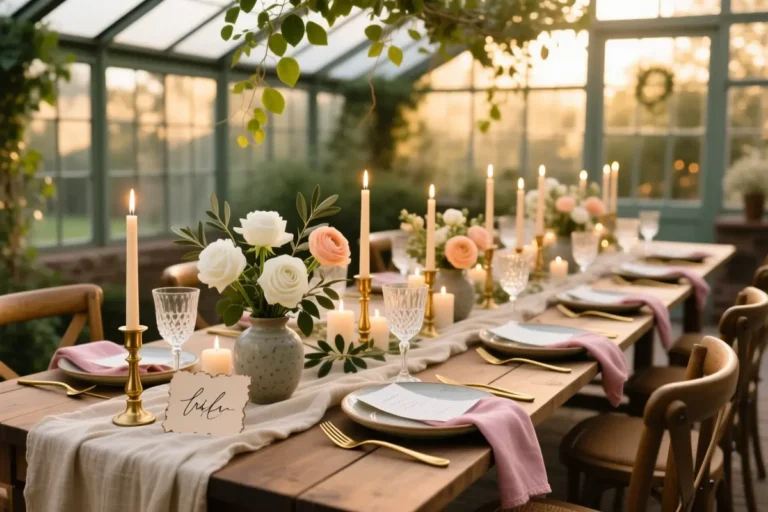
A cluster of ivory protea and deep‑purple orchids crowns the center of a white‑linened table, their sturdy stems standing tall while a few dried lavender sprigs add texture.
Choosing heat‑hardy blooms like these stops wilting in July sun, but it narrows the pastel palette and can raise the per‑stem cost compared with garden hydrangeas. If you crave softer tones, swap one protea for a spray of dried peonies; they’re reusable and won’t wilt, though they lack the fresh scent.
Keep stems in a bucket of cool water with a pinch of sugar and a few drops of bleach until the last minute, then mist them hourly. A high‑end florist may charge $12‑$18 per stem, while a DIY mix of bulk‑ordered protea ($5‑$8) and dried accents stays under $10 per head.
- Heat-hardy stems stay fresh
- Dried accents can be reused
- Higher per‑stem cost
- Limited color range
Mist stems every hour, and keep spares in cool water until the last minute
- Choose hardy blooms
- Prepare hydration bucket
- Add sugar and bleach
- Schedule hourly misting
Step 6: Plan a Weather-Appropriate Menu and Catering Logistics
Technique spotlight: insulated, ice‑filled serving trays keep chilled shrimp cocktail and citrus‑glazed chicken safe for the 2‑hour outdoor window. Pair them with chilled cucumber‑mint gazpacho shooters and a fruit‑topped shortbread cake wrapped in fondant to avoid buttercream melt. Swap heavy cream sauces for lemon‑herb reductions, and replace mayo‑based coleslaw with a quinoa‑vinegar salad that stays fresh longer in the heat.
If you lack portable refrigeration, choose a heat‑friendly menu: grilled corn, herb‑marinated pork tenderloin, and a flour‑based wedding cake stored in a shaded cooler. Remember, raw seafood must stay below 40°F, and any dairy should be served within an hour of removal from ice.
- Fresh, light flavors
- Elegant presentation
- Requires ice‑filled trays
- Needs rapid service
Raw seafood can spoil quickly in direct sun
- Safe temp for seafood: 40°F or below
- Buttercream: starts to soften above about 85°F
- Ice trays: check and refill about every 30 minutes
Step 7: Map out a Sunset-Optimized Day-of Timeline
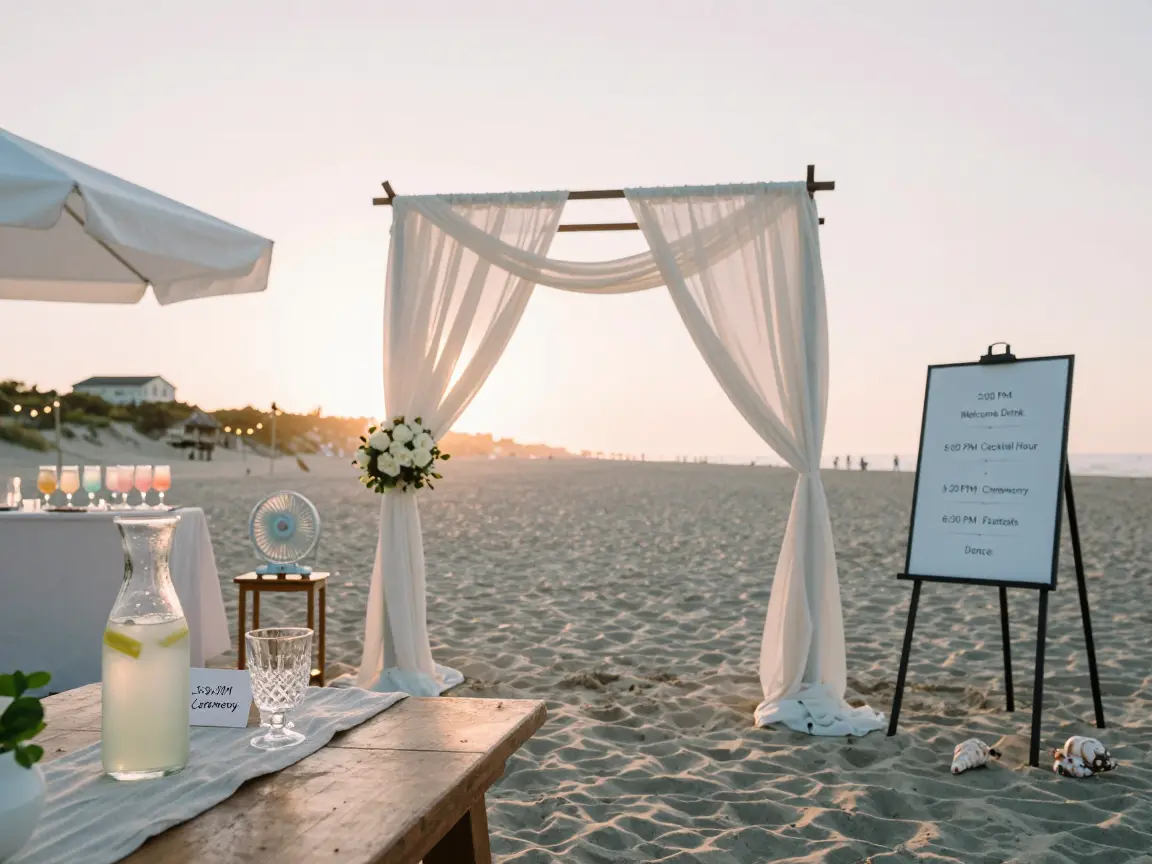
A sunset ceremony on a July beach keeps the heat down while the sky turns pink for photos. Start the day at 3:00 PM with a light welcome drink and a short cocktail hour under a canopy, then move guests to the ceremony at 5:30 PM. The ceremony runs until 6:15 PM, followed by a 30‑minute buffer for quick changes.
Schedule portrait sessions from 6:30 PM to 7:30 PM to capture golden hour, then open the dance floor at 8:00 PM and let the party run until 10:00 PM.
- cooler evening temps
- golden‑hour lighting
- compressed portrait window
- little margin for delays
- set welcome drinks 3‑4 PM
- hold ceremony 5:30‑6:15 PM
- schedule portraits 6:30‑7:30 PM
If a late start feels too tight, consider a midday ceremony with a rented tent, portable fans, and shaded lounge areas.
Add a 15‑minute “photo prep” slot at 6:25 PM for hair and makeup touch‑ups before the golden hour.
Frequently Asked Questions
What is the best time of day to hold an outdoor summer wedding ceremony?
The ideal time for an outdoor summer ceremony is late afternoon, between 5:00 PM and 6:00 PM. This avoids peak mid-day temperature maximums and harsh overhead sun, providing cooler temperatures and better lighting for photos.
How do you keep wedding cake from melting at an outdoor summer reception?
Keep the real wedding cake stored in an air-conditioned room until 15 to 30 minutes before cutting, or choose temperature-stable outer coatings like fondant or Swiss meringue buttercream rather than traditional whipped cream or soft buttercream.
What are the best fabrics for summer wedding attire?
Lightweight natural fibers like linen, silk chiffon, cotton organza, and tropical wool blends are best. They allow air circulation and absorb moisture better than synthetic polyester fabrics.
How much extra budget should be set aside for summer weather contingencies?
Set aside 10% to 15% of your total venue budget for heat contingencies. This covers items such as commercial tent fans, portable AC units, extra ice stock, shade umbrellas, and guest water stations.