
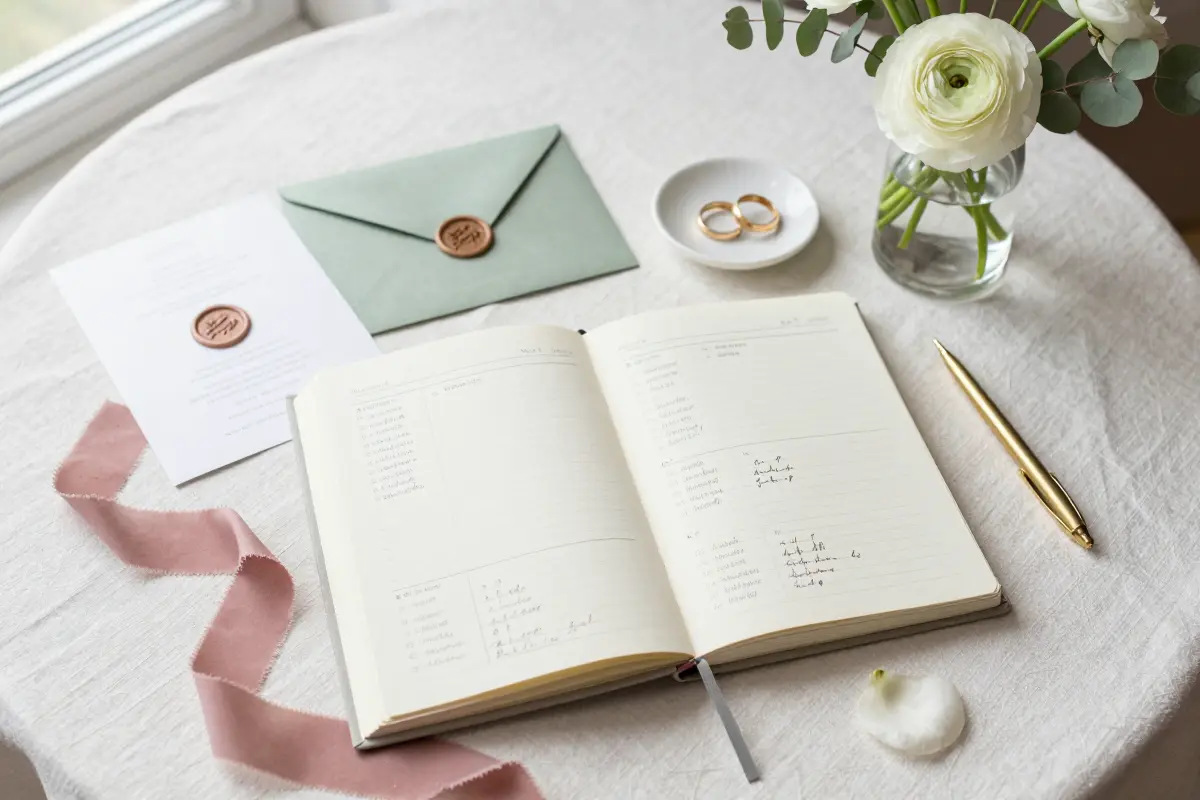
The Realistic Wedding Planning Checklist: Month-by-Month Timeline & Free Download
The Realistic Wedding Planning Checklist: Month-by-Month Timeline & Free Download
The moment the ring slid on, the to‑do list exploded: budget spreadsheets, venue hunting, endless vendor ads. I tried to wing it, but missed the venue deposit deadline and ended up scrambling for a date that fit our calendar.
This guide breaks the chaos into a realistic month‑by‑month checklist, from setting a tight budget twelve months out to the final week’s vendor payments. Follow each step, download the free template, and you’ll keep costs in check, stay on schedule, and walk into your wedding feeling prepared rather than panicked.
You’ll also find quick tips for delegating tasks to bridal party members, so you never feel stuck doing everything solo.
Step 1: 12+ Months Out — Set a Hard Budget, Draft the Guest List, and Secure a Venue
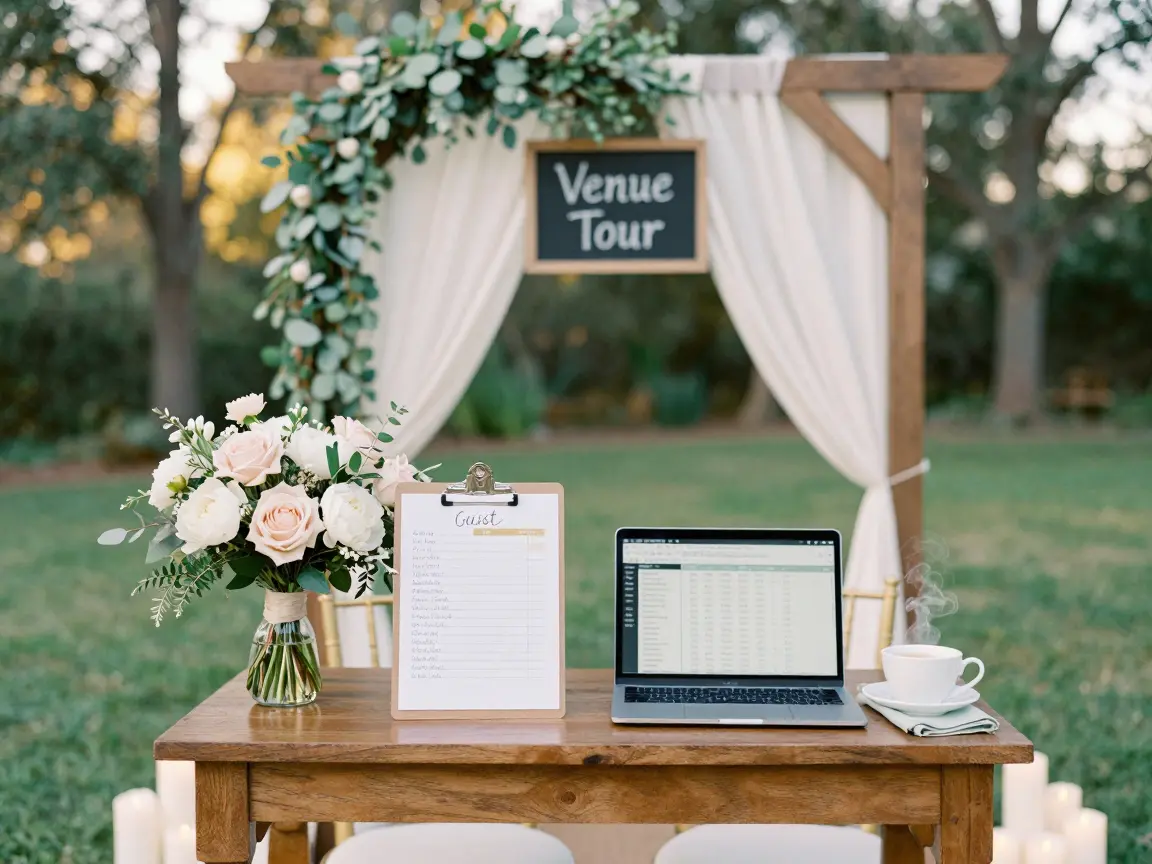
Start by adding a 10 % buffer to your total wedding budget; that cushion covers hidden taxes, service charges, and last‑minute rentals. Draft a guest list early because each name locks a seat, drives the venue’s capacity needs, and directly influences the caterer’s per‑person quote.
When touring venues, ask for a detailed fee sheet that lists service charges, minimum food spend, and any extra rentals like chairs or generators.
Note that most venues (about 70 %) won’t reveal full pricing until a contract is signed, so compare at least three sites before committing. A larger buffer may reduce flexibility for other expenses.
- Secures dream date
- Sets clear capacity limits
- May limit budget flexibility after catering quotes
- Hidden fees can inflate costs
- Service charge 18%‑25% of F&B:
- Minimum food spend $15,000:
- Guest list draft
- Venue fee breakdown
- Buffer amount calculation
Step 2: 9–10 Months Out — Lock In High-Priority Vendors and Begin Attire Sourcing
At this point, you should focus on the vendors that fill up first: photographers, videographers, and caterers. Reach out early, compare portfolios, and ask for written contracts that spell out dates, fees, and cancellation policies. A signed agreement protects you far better than a verbal promise.
For attire, start with the bridal gown and the wedding party’s dresses or suits. Most designers need six to eight weeks for a final product, plus extra time for fittings and alterations. Schedule your first fitting now, then plan at least two more appointments to adjust seams and hems.
Knowing these lead times helps you avoid last‑minute stress and keeps the timeline on track.
Step 3: 6–8 Months Out — Finalize Save-the-Dates, Registry, and Hotel Blocks
Unlike last‑minute digital notices, save‑the‑dates give guests a concrete timeline to arrange travel and attire. Send them 6-8 months out to everyone on your A‑list, then wait until the venue confirms capacity before adding B‑list names.
For the registry, choose a single‑page universal link that aggregates a few favorite stores; it keeps updates simple and avoids overwhelming guests with endless options.
Secure a courtesy block at a nearby hotel, no deposit required, but remember the block releases any unbooked rooms 30 days before the wedding, so late‑arriving guests lose the discount. If you prefer a more flexible option, reserve a few Airbnb homes for groups of friends or families.
This approach works best for medium‑sized weddings of 80‑120 guests, where most out‑of‑town attendees need nearby lodging. Hotel blocks may limit room availability for late arrivals.
- lower hotel rates secured
- no upfront cost
- rooms release after 30 days
- late guests lose discount
B‑list save‑the‑dates can exceed venue capacity limits
Use a universal registry link to keep updates in one place
Step 4: 4–5 Months Out — Order Invitations, Book Rentals, and Plan Tablescapes

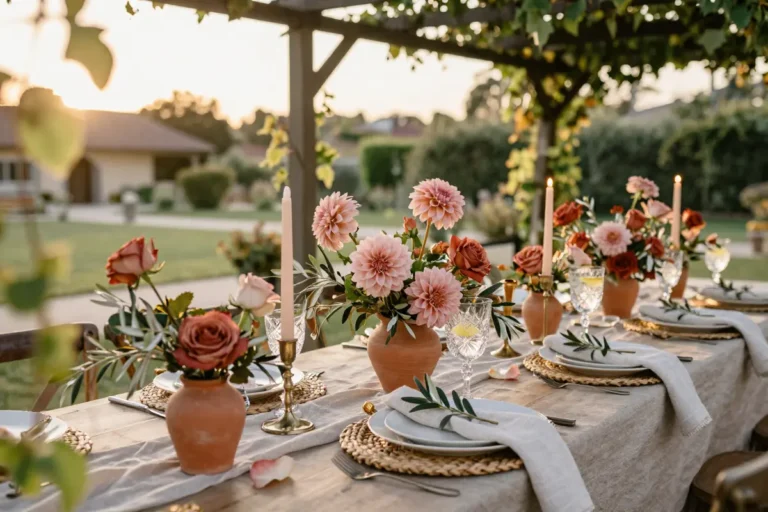
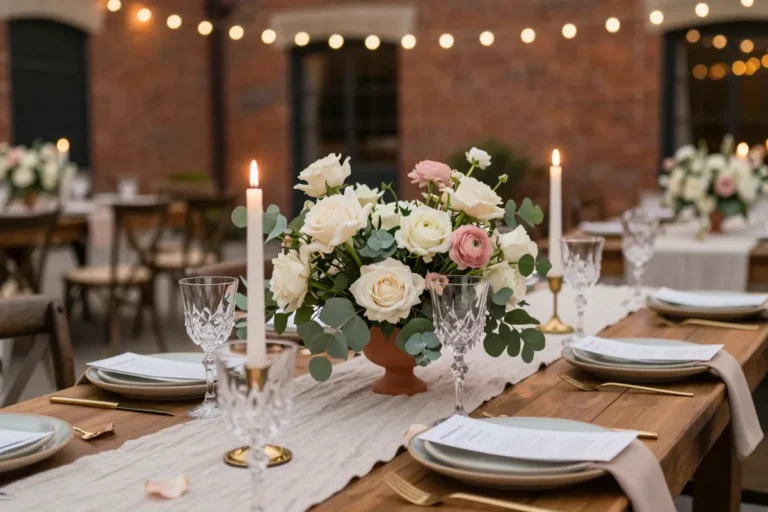
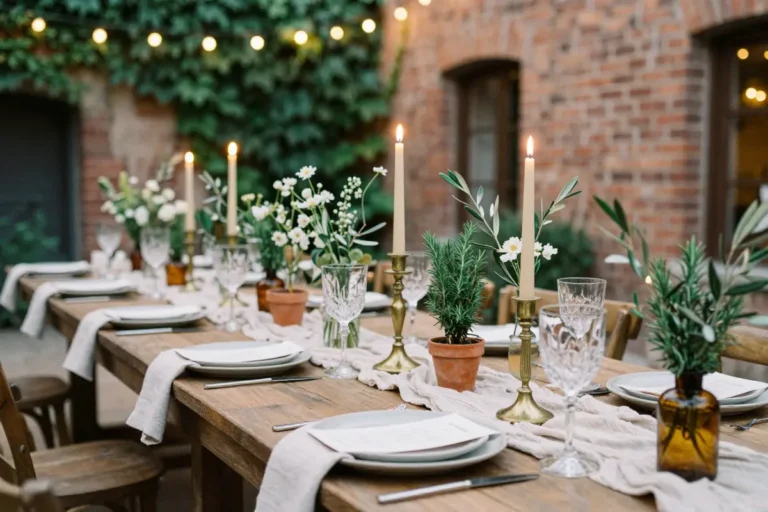
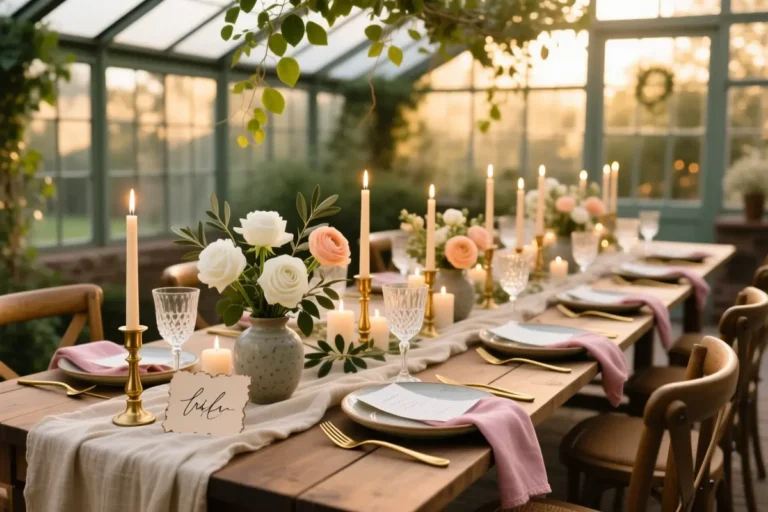
A row of ivory‑frosted chargers sits beneath a soft cascade of white garden roses and eucalyptus, while brushed‑gold candlesticks cast a warm glow across the linen‑folded tables.
Choose hardy blooms like spray roses and thistle that stay fresh through a two‑hour window, then confirm delivery for the morning of the ceremony.
Rent crystal stemware and monogrammed napkins for a luxe look, but remember delivery fees and damage waivers can double the line item cost.
A budget‑friendly swap is clear acrylic glassware and plain white linens, which still feel polished when paired with a curated centerpiece.
DIY mock‑ups are doable if you have a spare table and a friend to help set and photograph the layout before final ordering. Crystal rentals may require additional insurance.
- elevated aesthetic
- cohesive theme
- high delivery fees
- damage waiver risk
- Crystal stemware: $200 to $350
- Plain acrylic glasses: $80 to $120
- Floral mockup board
- Rental order sheet
- Delivery schedule
- Setup timeline
Step 5: 2–3 Months Out — Mail Formal Invitations, Schedule Fittings, and Draft the Day-Of Schedule
Setting note: the RSVP deadline sits on the invitation insert, bolded in a contrasting teal font to catch eyes and signal urgency.
Mark the cutoff for replies at six weeks before the wedding; this gives your caterer a firm headcount and avoids extra per‑plate fees. Track responses in a simple spreadsheet, color‑coding “yes,” “no,” and “pending.”
Schedule hair and makeup trials for the first week of the month, and book the first round of garment alterations within the same two‑week window so you can address fit issues before final fittings.
Draft a rough day‑of timeline that lists ceremony start, cocktail hour, and reception flow, leaving room for a 15‑minute buffer between each segment. Tight RSVP deadlines may require follow‑up calls.
- Early headcount saves catering costs
- Clear timeline reduces day‑of stress
- Aggressive deadline needs polite follow‑ups
- Late alterations may delay final look
Use a printable RSVP card with pre‑stamped return envelope to boost response rates
- Send invitations
- Set six‑week RSVP deadline
- Log replies in spreadsheet
- Book hair/makeup trial
- Schedule first garment fitting
Step 6: 1 Month Out — Confirm Final Headcount, Finalize Seating Chart, and File for Marriage License
When the final RSVP list arrives, the sudden surge of unknown numbers can throw your dinner service into disarray. First, schedule your marriage‑license appointment; most states require the license no later than the day before the ceremony.
Next, lock in the final headcount and begin the seating chart, because a chart provides structure, reduces confusion, and helps guests feel comfortable.
Assigning specific seats prevents chaotic wandering, but expect hours of balancing guest dynamics and the venue’s physical layout. If you dread that work, consider open tables with place cards for each guest, a lighter‑touch alternative that still guides flow.
Execution tip: place tables closest to the music speakers and entrance, away from high‑traffic doors to keep noise and foot traffic off the dining area. Complex seating charts can be time‑consuming to adjust.
- structure
- reduces confusion
- time‑intensive balancing
- requires layout revisions
- obtain marriage license
- confirm final headcount
- create seating chart
- position tables near speakers and doors
- Seating chart provides structure:
- Open seating can cause chaos:
- Start chart after final RSVP (3, 4 weeks):
- Final tweaks a few days before:
Step 7: Final Week — Vendor Payments, Emergency Prep, and On-Site Execution
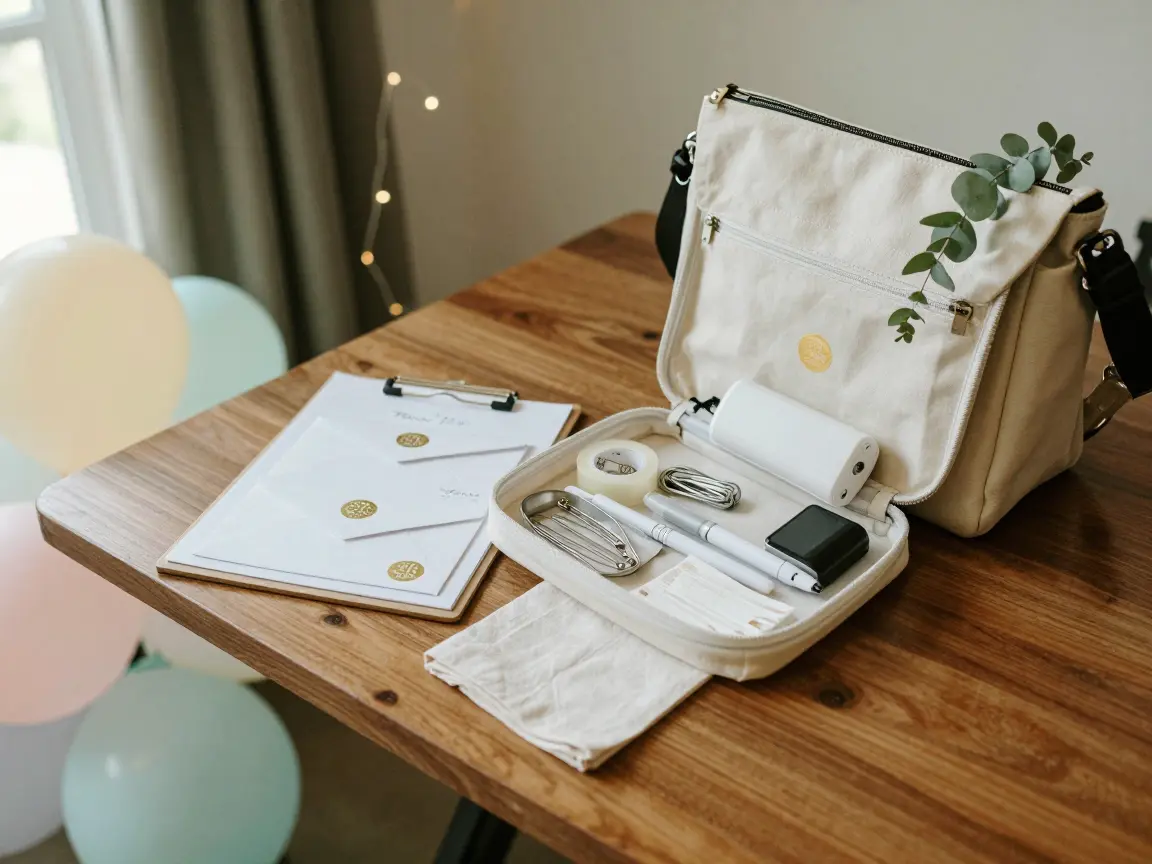
Place the tip envelopes on a small clipboard as you walk the venue one day before the ceremony. Write each vendor’s name, amount, and a quick “thank you” note, then seal with a sticker.
This keeps cash organized and prevents last‑minute scrambling, though it locks you into the preset amounts even if a service exceeds expectations.
The emergency kit should fit in a reusable zip‑top tote: safety pins, double‑sided tape, a mini stain remover pen, extra band‑aid, and a phone charger.
A splurge version swaps the tote for a leather messenger bag and adds a portable power bank; a budget version uses a clean grocery bag and a travel‑size stain stick. Prepared kits may add extra items to carry.
- Organized payments reduce day‑of stress
- Keeps cash handy for vendors
- Reduces flexibility if service varies
- Requires extra prep time
- Pre‑filled tip envelopes
- Venue walkthrough checklist
- Emergency kit items
Hand the clipboard to the wedding planner right after the ceremony so they can distribute tips while you’re still in your dress
Frequently Asked Questions
How to plan a wedding step by step for free?
Start by setting a firm total budget and estimating your guest count. Use a structured chronological timeline to systematically complete tasks like venue selection, vendor booking, attire fittings, and RSVP tracking month by month without spending money on paid software.
Is there a free PDF wedding planning checklist available?
Yes, a downloadable printable PDF wedding planning timeline is included in this guide to help you track deadlines, vendor contacts, and task completion offline.
What is the most important thing to do first when planning a wedding?
Establishing a strict maximum budget and draft guest list is the essential first step, as these two numbers dictate your venue choices, caterer quotes, and overall event scale.
How far in advance should you start planning a wedding?
Planning typically takes 12 to 18 months to secure preferred venues and primary vendors, though streamlined weddings can be planned in 6 months or less with focused decision-making.


One Comment
Comments are closed.